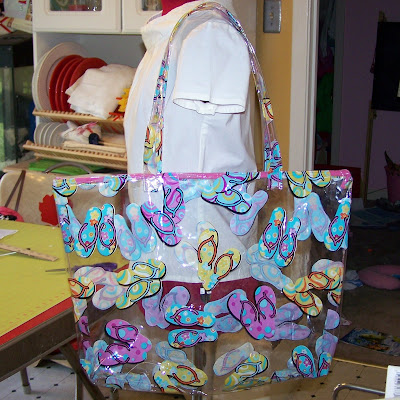
 Vinyl makes a great beach bag. But, there are a few tricks you need to know before you start:
1. Once you poke a hole in vinyl, it says there. So, use pins only when necessary. Instead:
- Secure edges with paper clips.
- Use a strip of painter’s tape to secure a zipper.
- Secure edges with tape. (Remove promptly to avoid icky residue.)
2. Topstitch ¼ inch on each side of the seam to hold seam allowances in place.
3. Finger press only: Move your fingers along the seam line, pressing the seam allowances open.
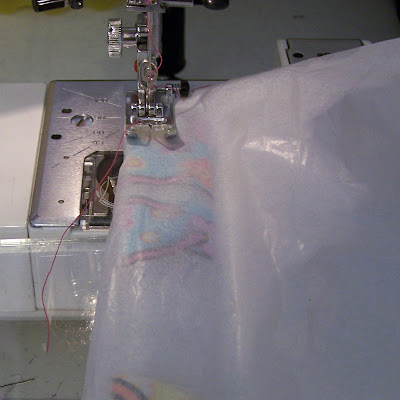
4. Use a plastic or Teflon sewing foot. If these aren’t available, place a piece of tissue paper between your vinyl and your presser foot.
5. Use a NEW size 11 needle.
6. Increase your stitch length to 3.0 mm.
7. Don’t backstitch to secure seams. Leave long tails and tie knots.
To construct your bag:
1. Cut out 2 rectangles 22 inches wide x 18 inches tall.
2. Cut out 2 rectangles 4 inches wide x 27 inches tall.
 3. Fold under ½ inch on the top edge. Tape into place.
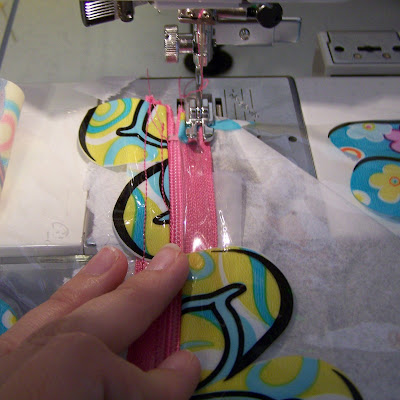 5. Stitch along the zipper tape.
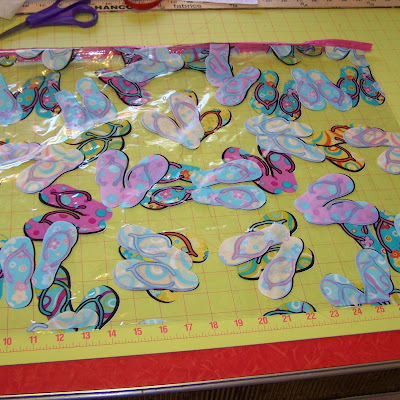 7. Unzip the zipper about 8 inches and fold the pieces right side together.
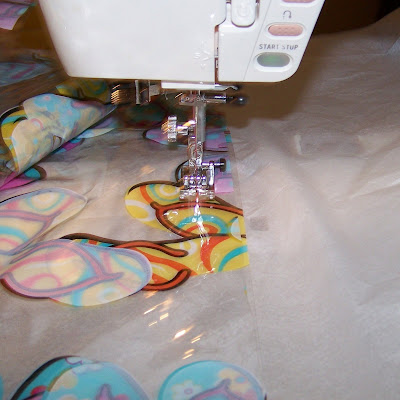 8. Stitch the edges with a 5/8 inch seam.
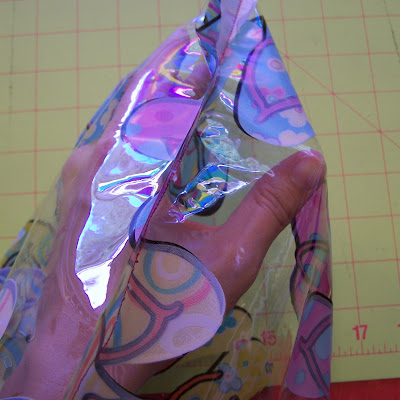 9. Open out the bottom corners.
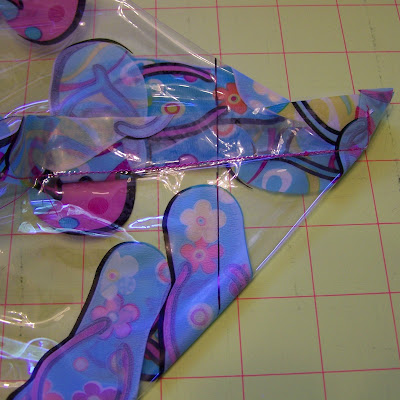 10. Pinch the side seam and the bottom seam together.
11. Mark a line 2 inches from the point and 4 inches wide.
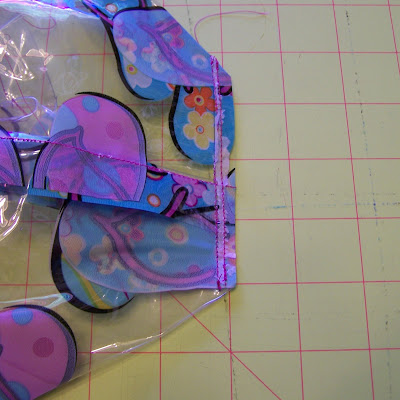 14. Trim the corner.
15. Repeat steps 9-14 for the other bottom corner.
16. Turn the bag right sides out.
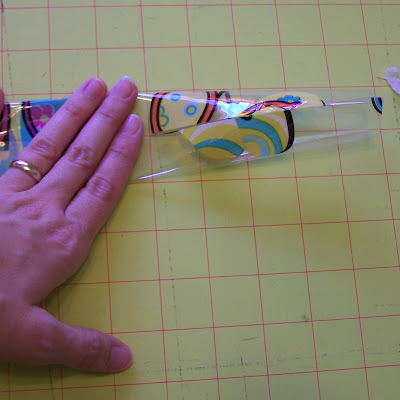
17. Handles: Using the long, skinny rectangles, turn in each long edge into the middle.
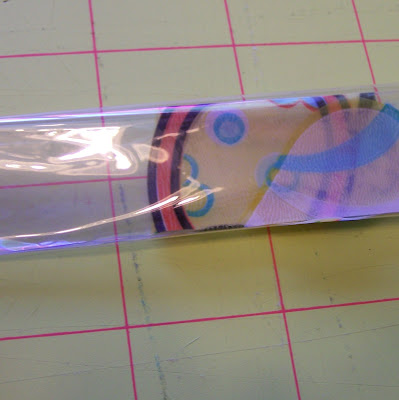
18. Fold the new edges to the middle.
19. Stitch close to the each outside edge. This will be much easier if the tissue is between your presser foot and your vinyl.
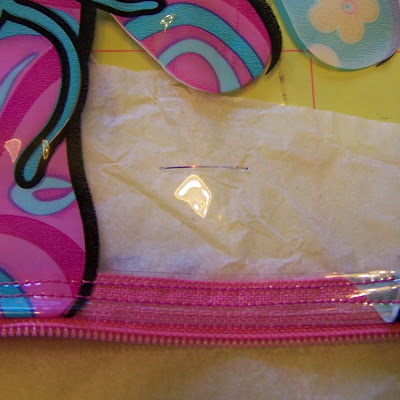
20. Mark the bag in 4 places: 6 inches in and 1 inch down from each top corner.
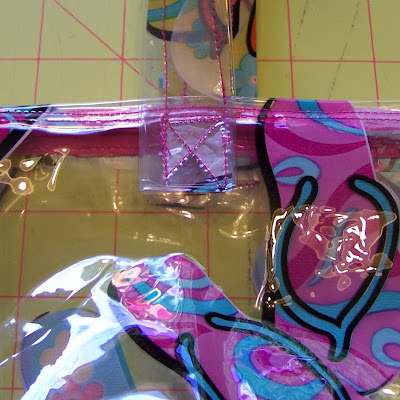
21. Secure the straps to the outside of the bag at these marks.


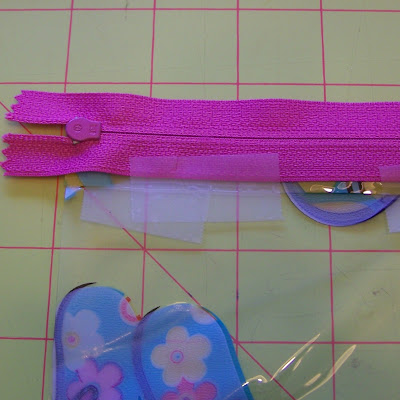 4. Place the zipper coils along the fold and tape into place.
 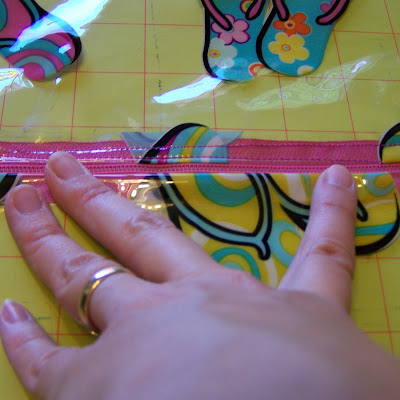 6. Repeat steps 3, 4, and 5 for the other large rectangle of vinyl.
 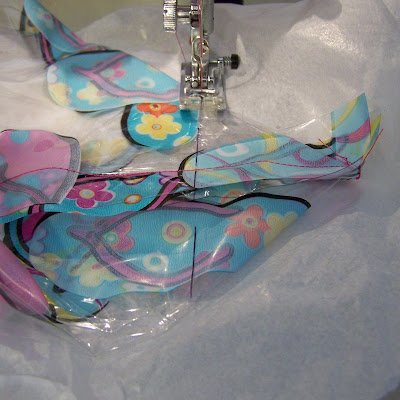 12. Stitch along this line.
Cute beach bag and thanks for the tutorial on working with vinyl.
I love this bag. my grand daughters swim on a swim team in CT. I need to check to see if they need bags. My girls swam on teams year round!! It was fun, but constant.