With the house on the market, I needed a quick update in the living room. This would never do:

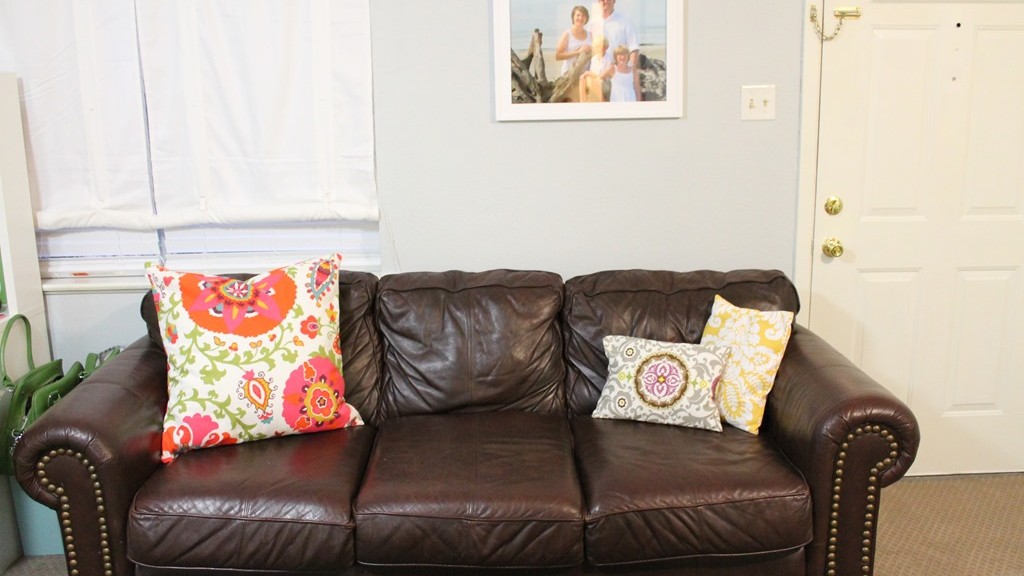
But this would:

(These colors make me smile.)
These pillow covers only cost about $15 dollars and took about an hour to make. They are stitched with a basic straight seam, so if you can thread your machine, you can make these.
Here is the project:
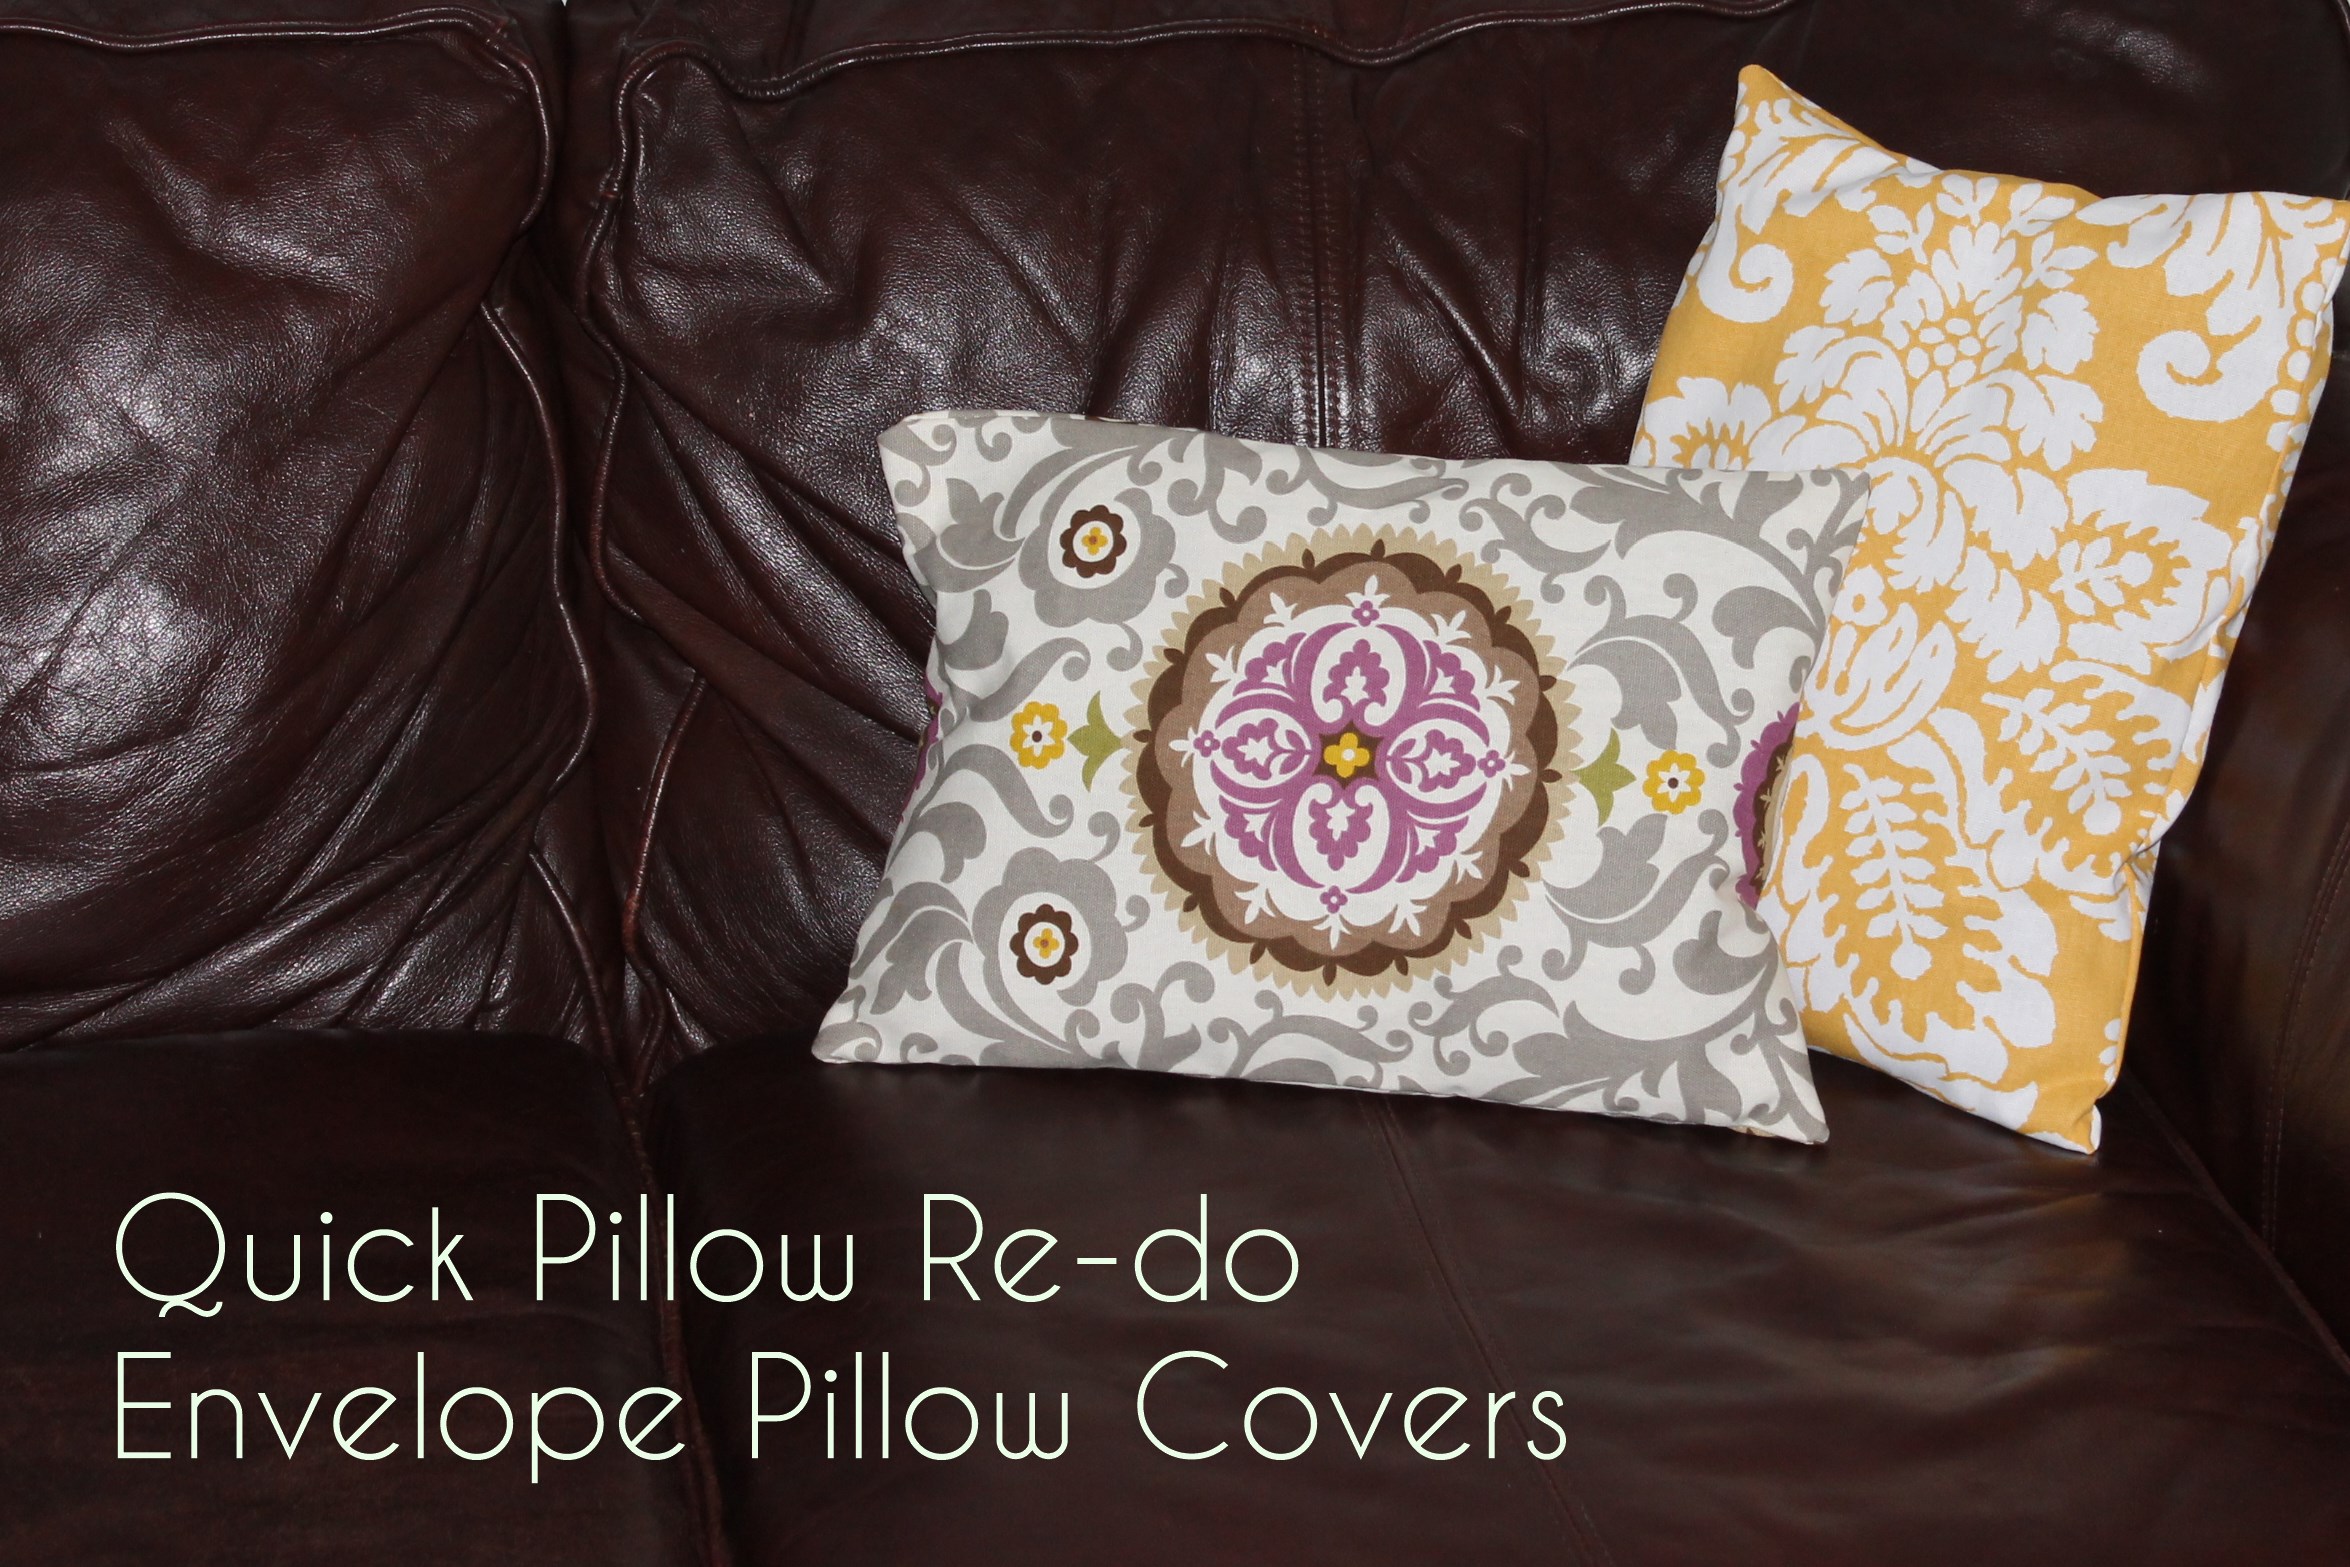
Envelope Pillow Covers
Experience Level: Beginner
1. Measure your pillow. You’ll need to know the length and width.

2. Do a little math. This pillow measured 11 x 15 inches.
- Front pillow piece: You need 1 rectangle. Add 1/2 inch to the length and 1/2 inch to the width. For this pillow, I used 1 rectangle measuring 11 1/2 x 15 1/2 inches.
- Back pillow pieces: You need 2 rectangles. The width will be the same as the front piece. For the length of each piece, divide the length of the pillow by 2 and add 3 1/2 inches. My 2 rectangles measured 11 1/2 x 11 inches.

3. Hem one long edge of each of the back pillow pieces.

4. Stack your fabric like this:
- Front piece right-side up.
- Back pieces wrong-side up, hem toward the middle.


5. Stitch all the way around the pillow with 1/4 inch seam allowances.

6. Trim the corners, turn your case right side out, and press it well.
7. Slip it on your pillow.
A few notes: –This envelope pillow will work for any rectangular/square pillow. Just measure your pillow and do the same math you did above.
–If you are worried about the back overlap gaping, you can add more than 3 1/2 inches to each back piece, or just attach a small piece of Velcro to either side!
–Embellish away! I try to remember to embellish the front before I put my pillows together. You can paint, piece, add ribbon or ric rac, anything you want, just as long as the front finished pieces measures 1/2 inch long and 1/2 inch wider than your pillow.
****This tutorial first appeared in December 2011.