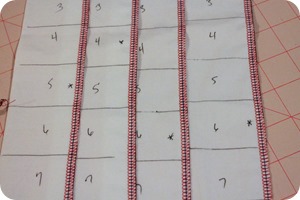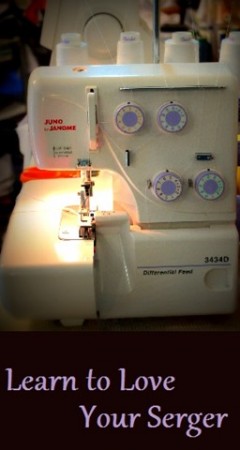
So my sewing friends, are you feeling a little more comfortable with your serger? If you’re just joining us, during the last few weeks, I’ve introduced a few tidbits to make your serger a little more user-friendly. Here’s what we’ve covered so far:
Week 1: the parts of your machine and how to thread it
Week 2: Selecting needles and threads for your project
Week 3: Balancing the tension on your machine
And now we serge!
This basic pillowcase is a simple way to use all you’ve learned. (This makes a standard pillowcase.)
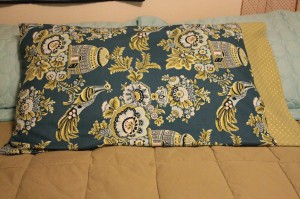
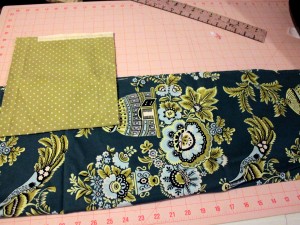
1. Cut 2 rectangles:
- 9″ x WOF of contrast trim
- 27″ x WOF of main fabric.
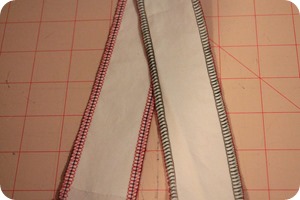
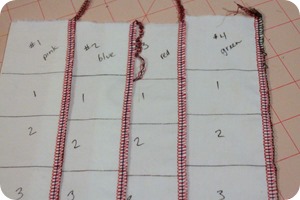
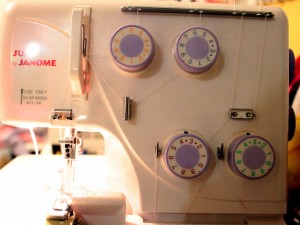
2. Set your tension dials on your serger to match the settings that work best based on your tension maps.
3. Fold the contrast trim in half, lengthwise and press well.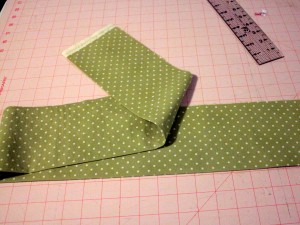
4. Align the raw edges of the contrast trim and the main fabric, right sides together. Don’t worry if these two pieces of fabric aren’t the same width. You can trim later.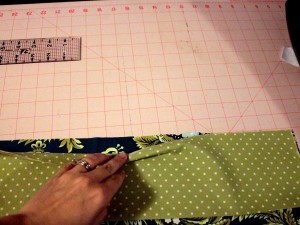
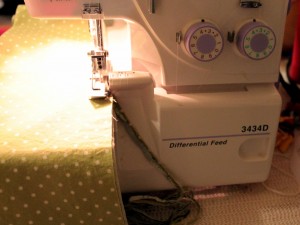
5. Serge across these raw edges.
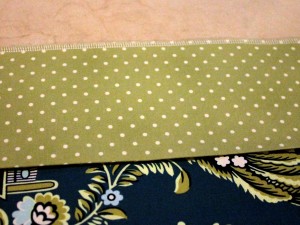
6. Press open, pressing seam towards main fabric.
7. Fold the pillowcase in half, wrong sides together, aligning raw edges.
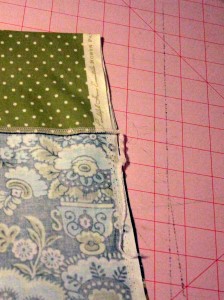
Now’s the time to trim up any uneven edges.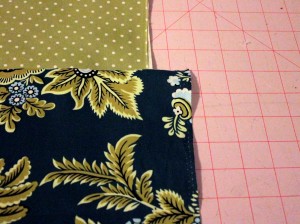
8. Serge down the long edge of the pillowcase. Serge from end to end. (You can’t pivot a corner like on a sewing machine.)
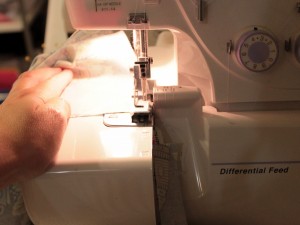
9. Serge across the bottom edge of the pillowcase. (Again, you can’t pivot, so after you finish the long edge, take the pillowcase off the machine and replace the short edge.)
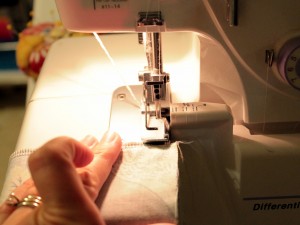
10. Turn it right side out and enjoy!
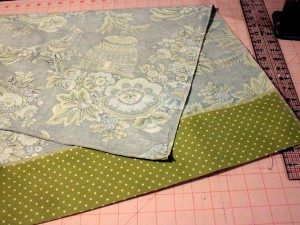
How’s that for a quick and easy project with your serger!
