All posts by Salinda

Hey Y'all! I'm Salinda. Welcome to my little piece of the South. I'm a sewing instructor and the seamstress behind PersonaliTy Children's Clothes. I'm crazy in love with my hubby and Momma to 2 spunky swimmers! I'm addicted to Sonic Cokes, my New Orleans Saints, and Jesus!

Spring 2020 Sewing Classes

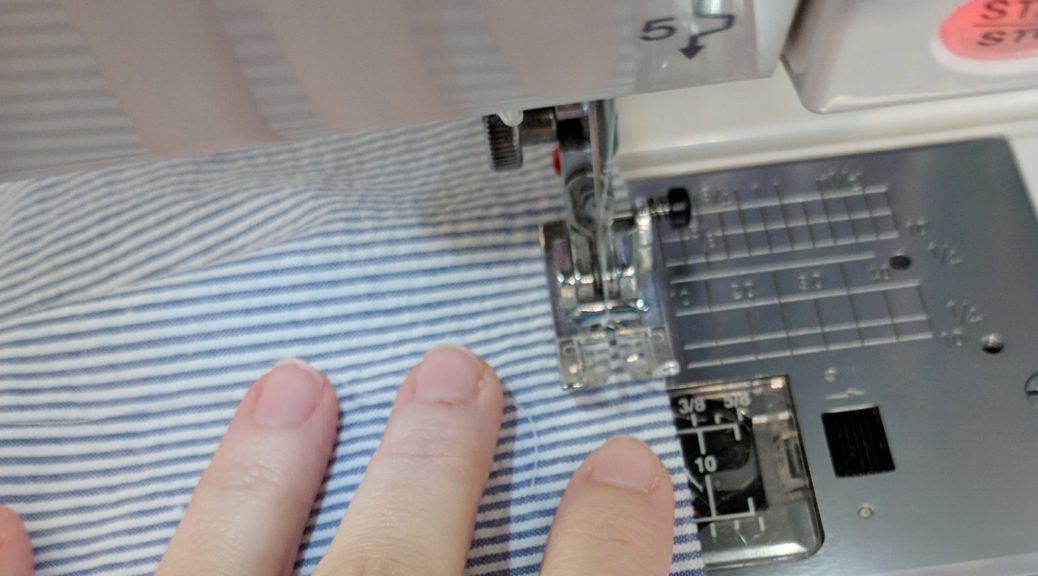
Sewing on seersucker

I’m starting a new Learn to Sew series through LSUS Continuing Ed in March. These classes are all stand-alone classes and designed for you to join in at your current sewing ability. Sign up here.

If you’ve never sewn before, or if your sewing machine is new to you, start with:

  • Getting to Know Your Sewing Machine, March 12 6pm and/or
  • Learn to Sew, March 19 6pm

If you already know how to thread your machine, but you’re wanting to learn more:

  • How to Sew Gathers, Ruffles, and More, April 2, 6pm
  • Buttons, Zippers, and Hems, April 9, 6pm
  • Learn to use a Pattern, April 16 & 23 6pm

Style Arc Diana Top

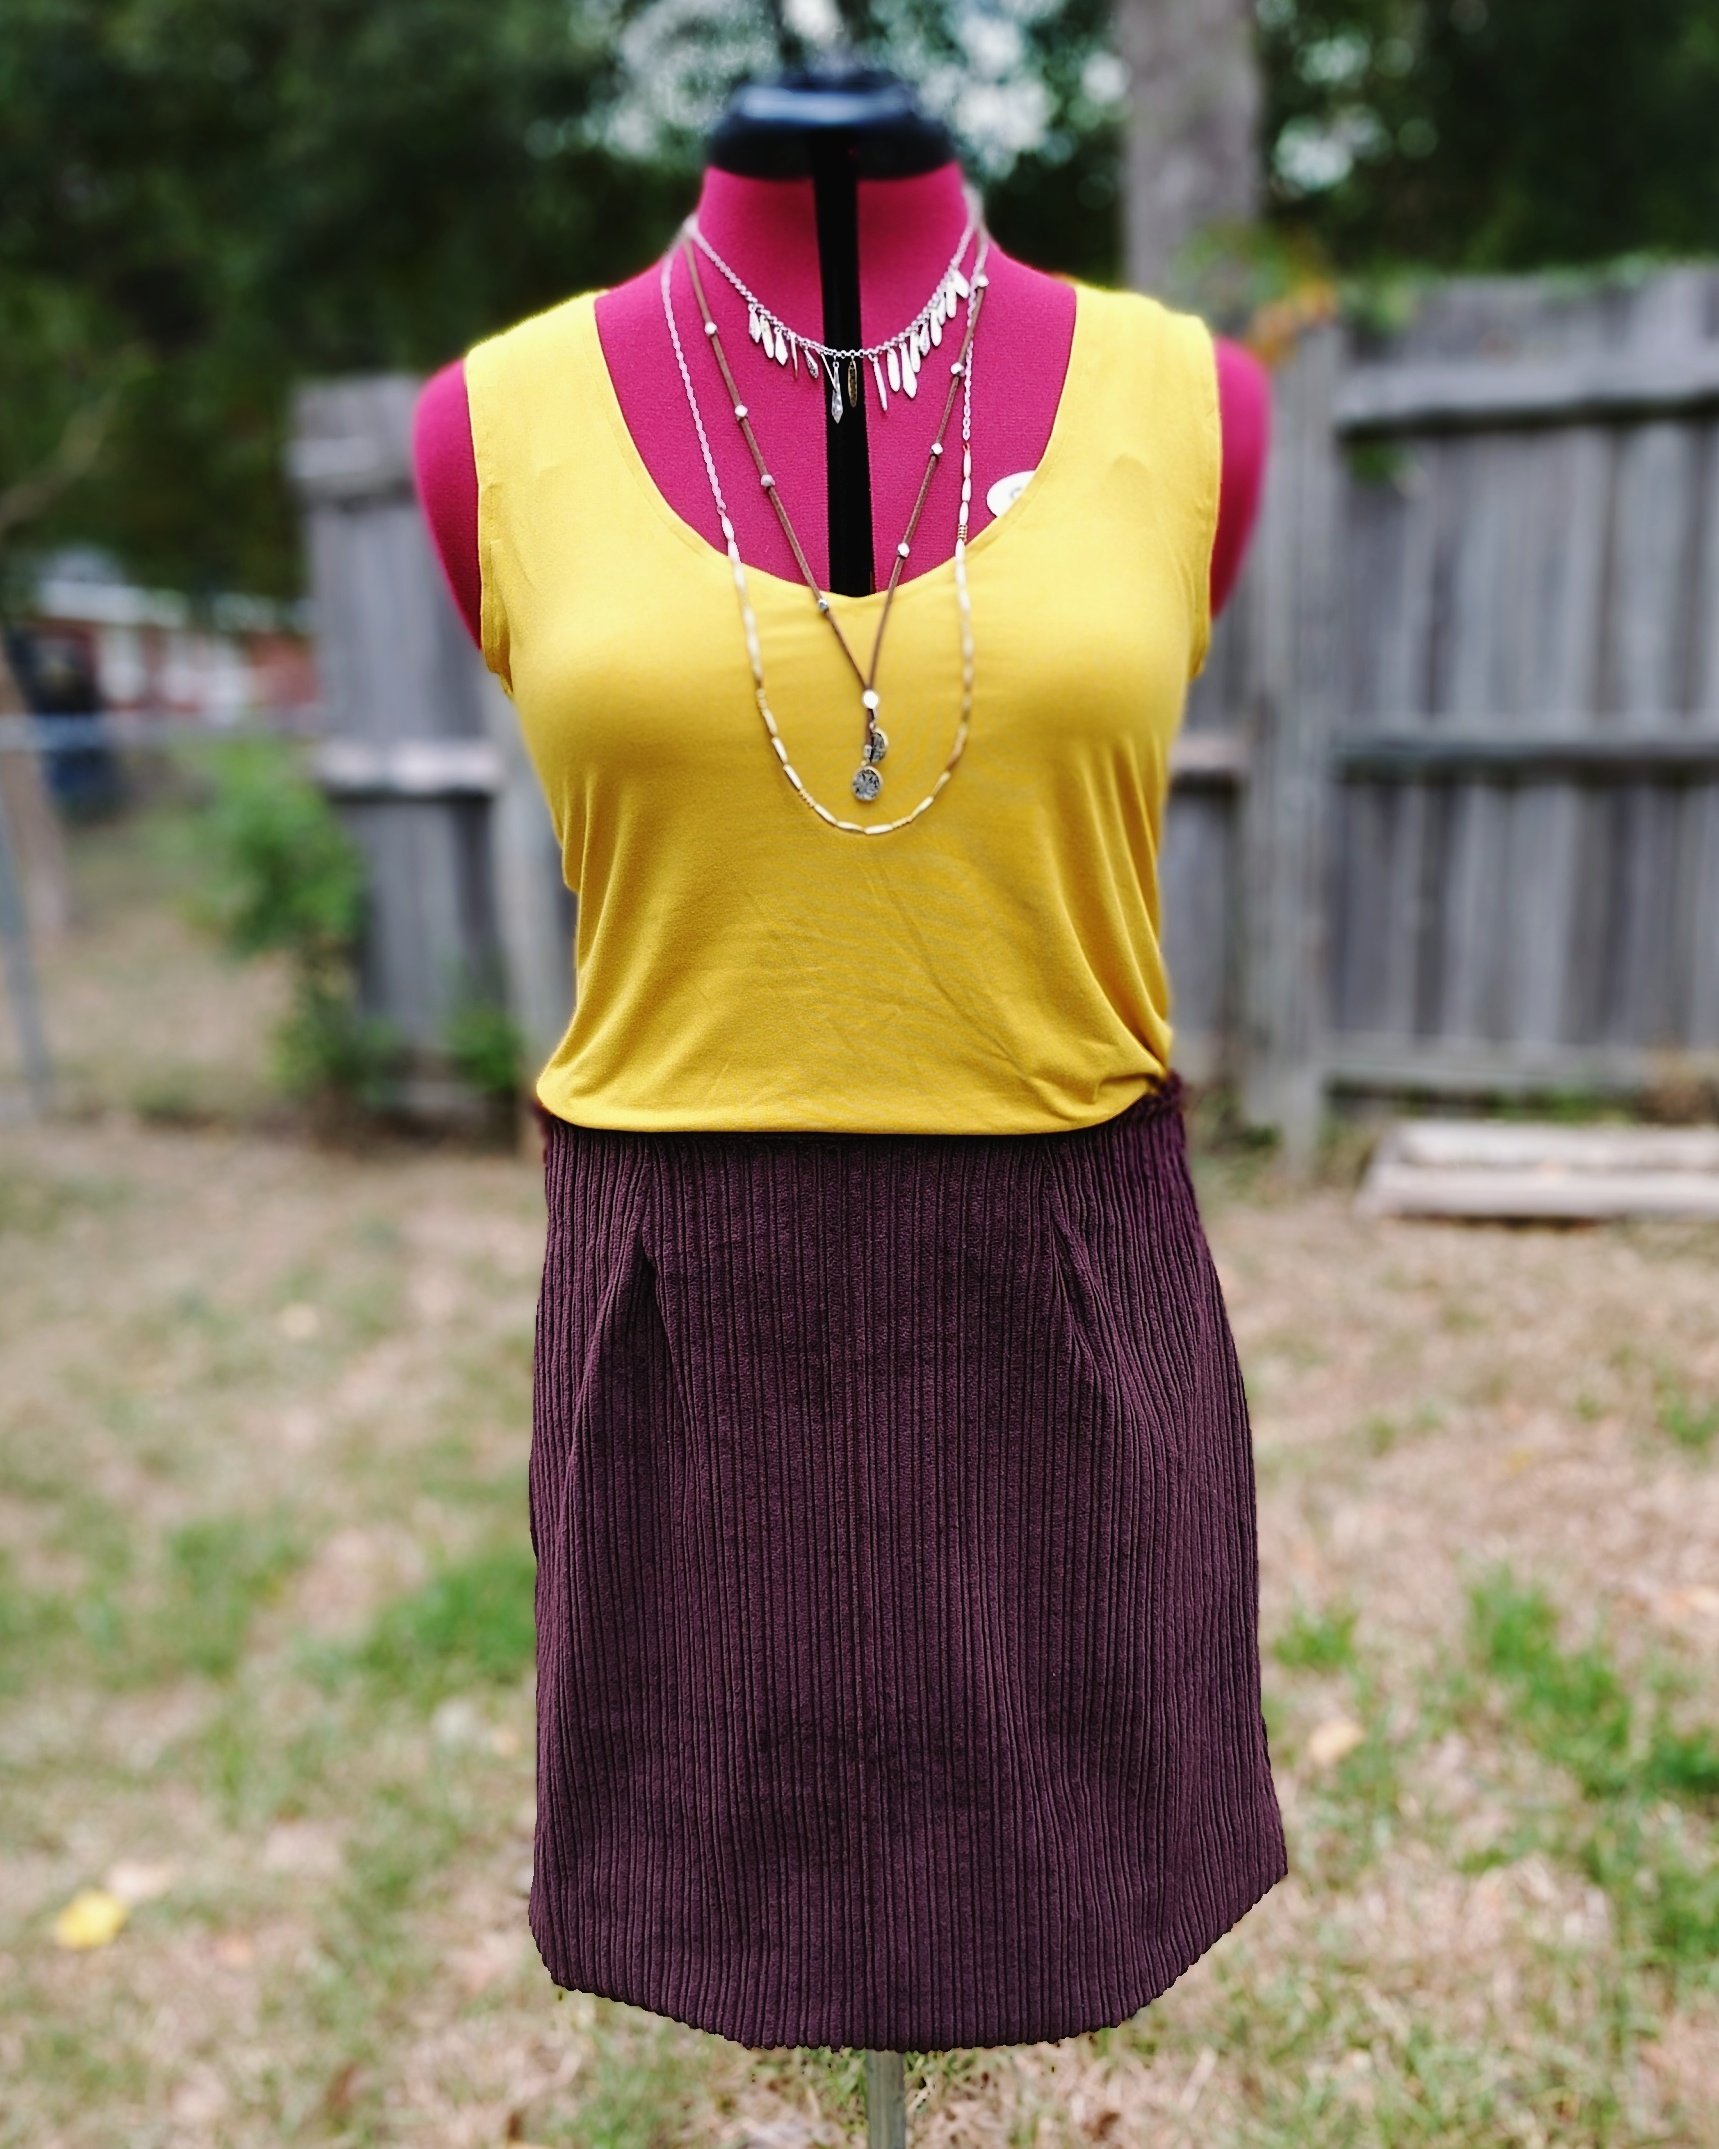
Piece #2 in my fall wardrobe capsule is complete: Style Arc’s Diana Top.

Style Arc Diana Top Review

Fall in the South means hot, hot, hot weather until at least October. But I’m jealous of all y’all wearing beautiful fall colors. So, when I was thinking about a fall capsule wardrobe, I wanted lightweight tops in beautiful fall colors. Enter a piece of mustard DBP in my stash and the Diana Top.

Pattern Review of Style Arc’s Diana Top

Description: Attractive neckline slightly fitted top

(You should know here that Style Arc Patterns are known for their brevity. That includes construction instructions.)

Pattern Pieces: I purchased the PDF format. The download was simple and the pattern taped together easily. I recommend that you print page 3 of the PDF first. This page has a square to measure to make sure your pattern is printing at the appropriate size. Make sure you printer is not set to “Scale to Fit”.

Fabric: The pattern suggests stretch jersey or knit singlet. I used a Double Brushed Poly from So Sew English. The fabric is super soft, a bit clingy, and a little bit warm.

Sizing: Style Arc sells their designs in single sizes. When you order, you get the size you ordered, plus the sizes on either size of that. Per their sizing chart, I always order a size 10. I also received sizes 8 and 12 in my downloads. I cut a size 10 in this pattern. The only change I made was to lengthen the pattern by 4 inches for a longer tank.

Construction: Again, I will point out that Style Arc has very brief construction instructions. In fact, they only list 8 steps for this garment. For that reason, I wouldn’t recommend this pattern to a very new sewist. But, it still was a simple sew.

This piece can be put together with a serger or a sewing machine. I used my sewing machine with a stretch needle and a stretch stitch. It’s a simple tank, so it’s just stitching the sides and shoulders together, and them hemming the neckline, armholes, and bottom.

Just a note, the pattern instructions tell you to “Fold under the neckline hem”. I had to pull out the hem gauge and measure the pattern edge to the fold line to see exactly how deep that hem should be. Not anything difficult, just one of those things that might not occur to a brand new sewist.

I enjoy Style Arc patterns because they fit me! The are designed for rectangles like myself. I’m finding lots of newer independent designers are drafting for pear or hourglass shapes and that’s just not my body shape.

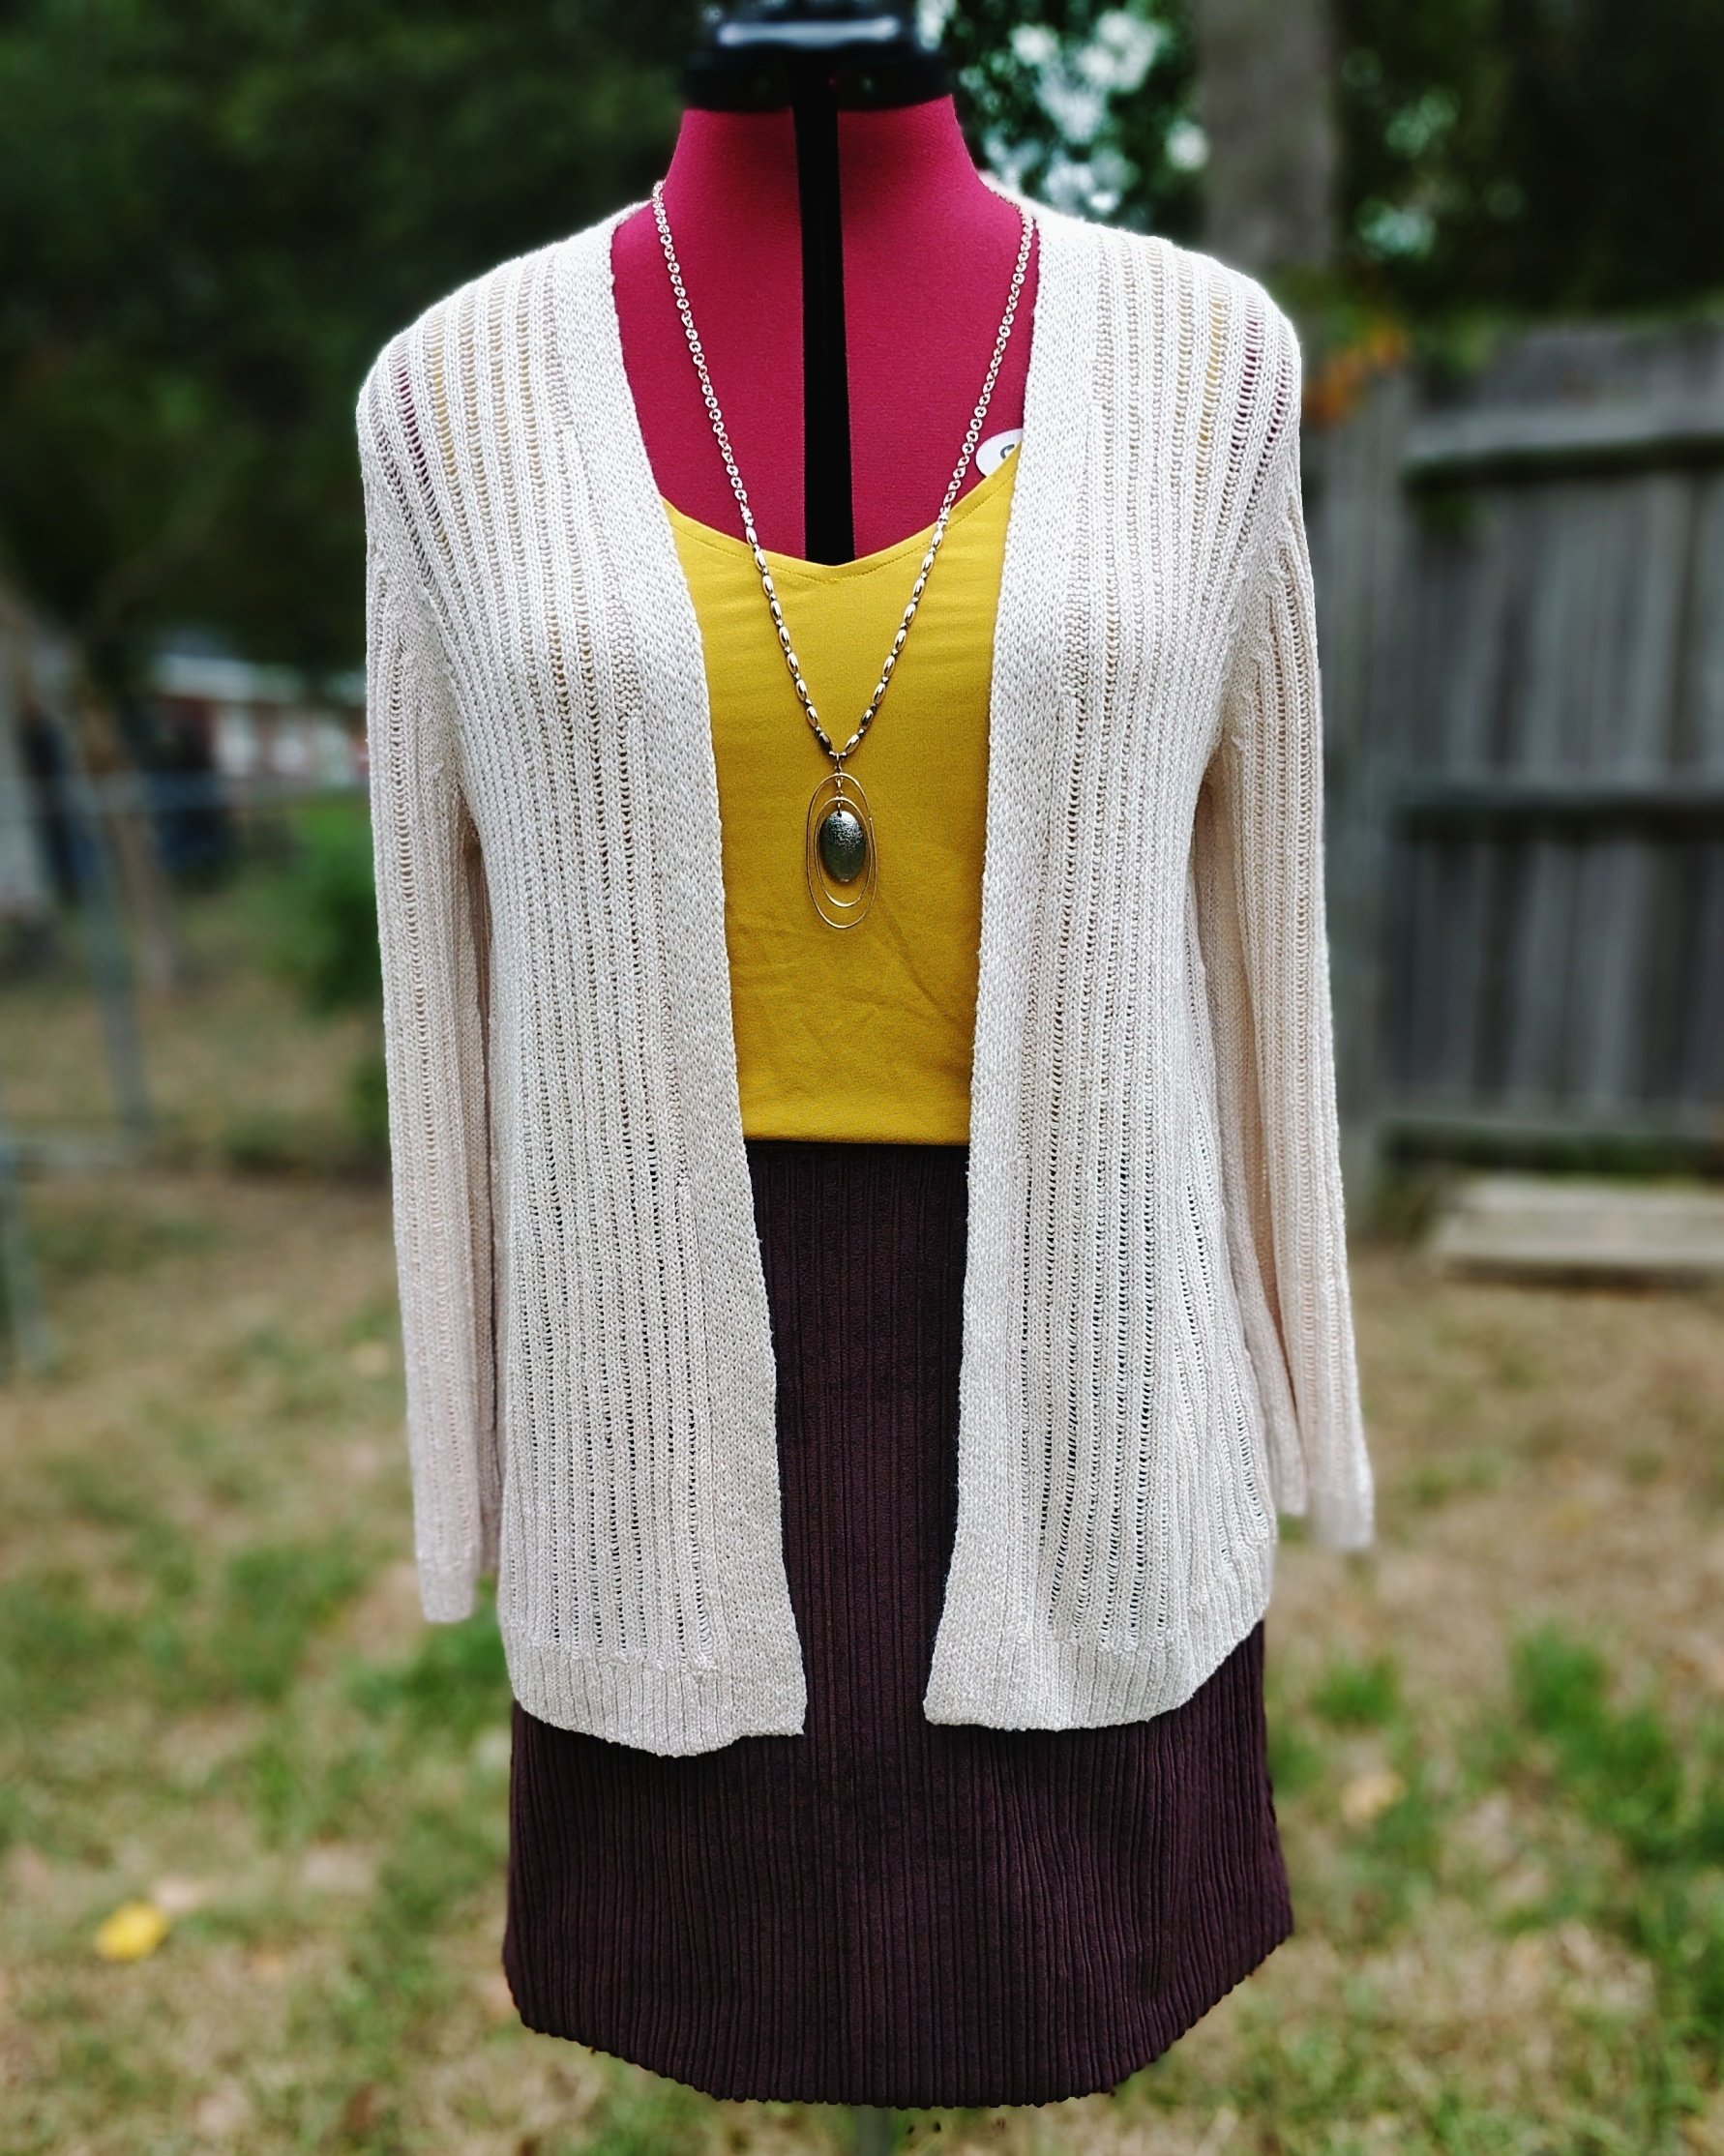
Style Arc Diana Top with sweater

Would I recommend this pattern?

Absolutely, to anyone with a bit of experience. Again, it’s not a difficult sew, but the instructions are sparse. I’ve stitched up 5 different Style Arc patterns and I’ve been pleased with them all.

Would I recommend this fabric?

Well, maybe. Personally, I don’t love double brushed poly. Yes, it is super soft, but it can be clingy and hot. It can also be challenging to sew with, but a walking foot, a stretch stitch, and, most importantly to me, a stretch (not jersey or elastic) needle, the task is much simpler.

I would also highly recommend the fabric shop So Sew English. I found them on Facebook were they post bundles and updates very regularly. Shopping was quick and the fabrics I’ve ordered have been exactly what I was looking for.

Fall Wardrobe Capsule Sewing Plan

Fall Wardrobe Capsule Sewing Plan? Seriously, you need a plan??  Yes, Yes I do.

fall wardrobe capsule sewing plan

Since I only have limited time to sew for myself, I really ought to make the most of it.  To do that, I need a to-do list, or a sewing plan.  Here’s my plan for this fall, including links to the patterns I’ll use:

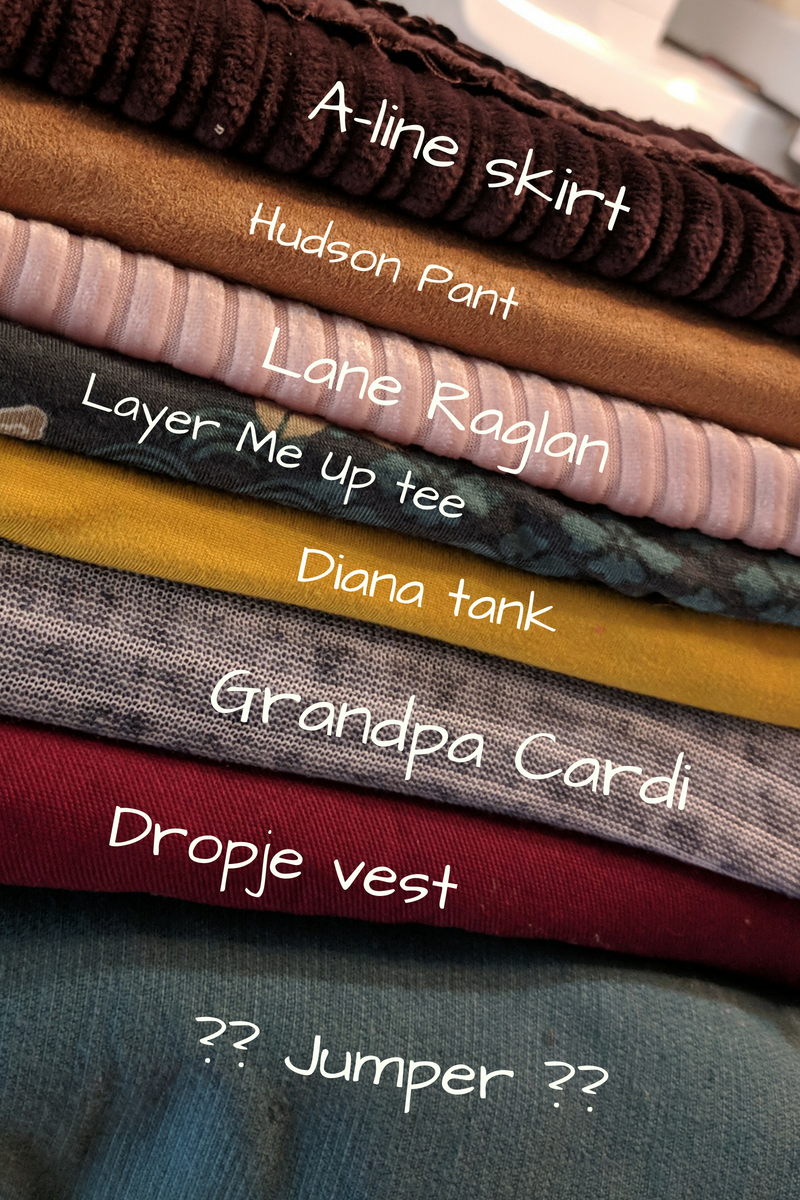
I’ve stitched up all these patterns before except the vest.  The Lane Raglan is my absolute fav! The others all stitch up nicely.  They are all pdf patterns, but don’t let that scare you.

Here are the fabrics:

fall wardrobe capsule sewing plan

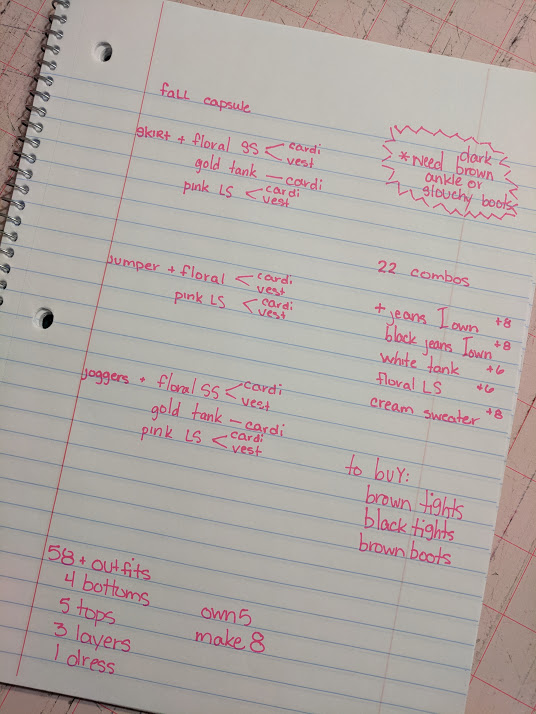
And here’s how it will all work together:

fall capsule wardrobe sewing plan

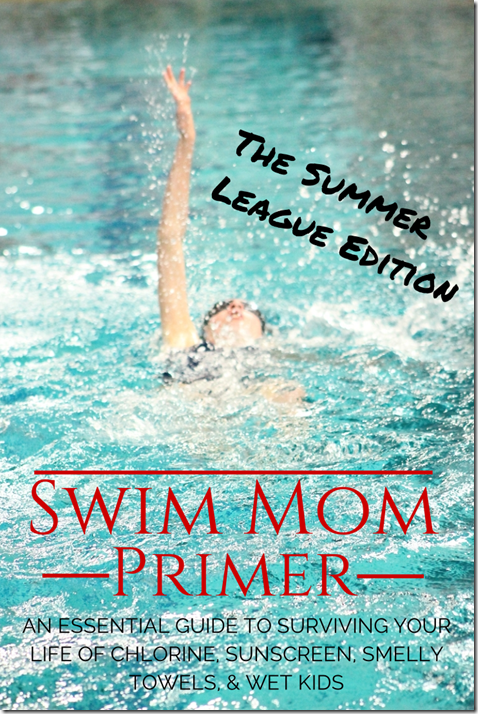
Summer League Swim mom Survival Guide

SWIM MOM (1)

Updated for 2016!

I love Summer League Swim Season.  These short 5 weeks were our foray into the world of swimming.  Whether your child is just swimming for fun or your child springboards from here into competitive year-round swimming, summer league swim is a time to relax, cheer for your child, and enjoy the summer.

What you need to bring:

  • Team Suit
  • Goggles
  • Swim Caps
  • Towels (I like to have at least 2 per child.)
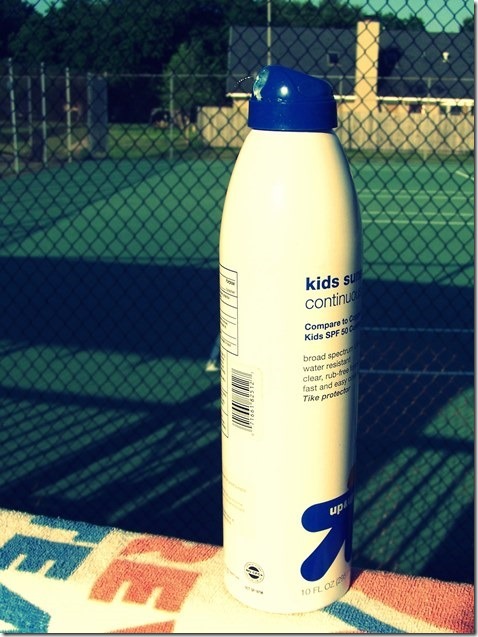
  • Sunscreen
  • Highlighters
  • Sharpies
  • Cash
  • Water
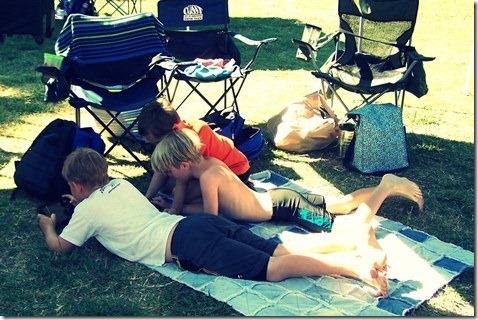
  • Chairs and/or picnic blankets
  • Snacks that won’t melt (try frozen grapes, granola, or rice crispy treats.)
  • Something to do: tablets, kindles, games, coloring books…
100_2260-001

What you need to do:

1.  Slather on the sunscreen before you leave the house.  Load up.  Don’t forget your team suit, cap, and goggles.  If you need to purchase anything, I always recommend swimoutlet.com.  They are fast and the best prices I’ve found for my kids’ supplies.  When you are shopping, the boys’ suits are called “Jammers”.  The girls’ are just competition suits.  These are my favorite goggles.*
100_2289-007

2.  Arrive at least 15 minutes before warm-ups begin.  Your child needs to check in with his coach.  This also gives you time to set up a spot for your family.  Chairs, blankets, games, ice chests, etc.

100_2293-011

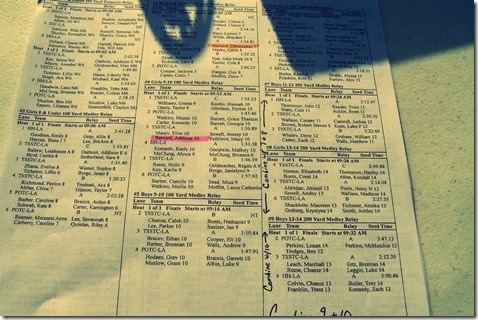
3.  Buy a heat sheet.  You’ll need the cash to purchase a heat sheet.  This is your guide to the meet.  Find your child’s name and highlight it.  Your child will swim more than one race, so don’t miss any.  Also, check the relays.  If your child is listed on a relay, you don’t want to miss it!  Three other swimmers are counting on you!

Each event or race is numbered: 1, 2, 3, etc.  Within each event, swimmers are divided into groups of 6 or 8 to swim heats.  The heats are arranged slowest to fastest.  (The slowest 6 will swim the first heat.  The fastest 6 will swim the last heat.)  Within the heat, the swimmers are assigned a lane.  The fastest swimmers in the heat are in the middle lanes.
100_2292-010

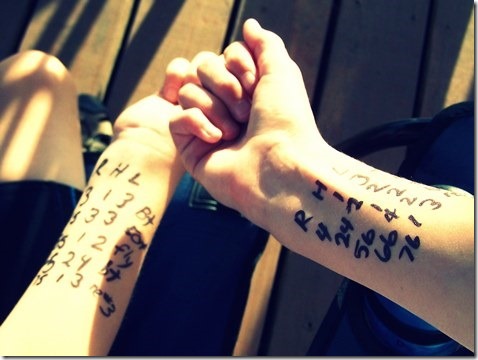
4.  Determine what race, heat, and lane  (R, H, L) your swimmer is in.  Use a sharpie to write the RHL on your child’s arm.  When my kids were little, I wrote on their upper arm.  Now that they are old enough to line up by themselves, I write it on their forearm so they can read it.
100_2287-005

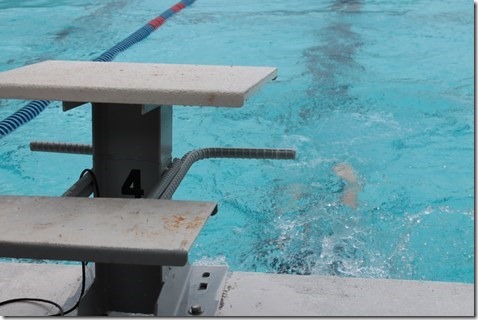
5.  Volunteer.  Swim meets run because of parental involvement.  All clubs need parents to help time.  This is the easiest job.  You just push “Start” on a stop watch when the buzzer sounds and push “Stop” when the swimmer in your lane touches the wall.   Timers sit behind the starting blocks, so these are the best seats in the house!

Some clubs need parents to volunteer to run snack shacks, help line children up for races, or as runners.  Find out where you need to be.

I’ll be honest.  Volunteering is not really an option.  These meets can not proceed without enough help in place and your team’s coach will appreciate all your help.
IMG_7239-003

6.  Slather on the sunscreen.

7.  Teach your child how to follow along.  Some clubs have volunteers that will call small children to line up.  If yours doesn’t, you need to keep track of which event is in the water.  You child needs to line up 2 events before  theirs.

8.  Drink plenty of water.

9.  Slather on the sunscreen.

10.  Cheer for your child.  You are there to cheer them on, not coach them.  The coach will do that.  And remember, the goal in swimming is not to win.  The goal is drop time.  That means that every time your child swims a 50y freestyle, they want to swim it faster than before.

100_2302-020

11.  Last but not least, slather on the sunscreen.

Updated with a few more thoughts from my friend Angie, a former swimmer and current swim mom and coach.  Thanks Angie!

  • Make a new swim mom friend (sometimes this will become your best friend)
  • Be very impressed with your kids.  Swimming is HARD.  Most moms couldn’t do with their kids are doing, especially in those early May hours when the water is 76 degrees!
  • DQs (Disqualifications) and tears may go hand-in-hand but a hug, a high five, and encouragement to try again are all they need.
  • A 6-8 year old that can do a legal butterfly or breaststroke is a special gift to a summer league coach.  Be very impressed!
  • The true sign of a swim mom is the wet mark that’s left behind on Mom’s dry t-shirt after a hug from her swimmer.

I’d love to hear your summer swim experience.  Any questions or tips and tricks?

*These are affiliate links.  If you purchase through them, you are supporting this blog and helping me purchase my kids’ year-round competition needs.  Thank you so much!
Sewing Vintage Patterns: 1960

image

I have a handful of sewing patterns from my Grandma’s stash. I pulled them out the other day for inspiration and noticed that the sizing on some of them looked as though it might fit me. Jackpot! I decided it was time for me to begin sewing vintage patterns.

Sewing Vintage Patterns

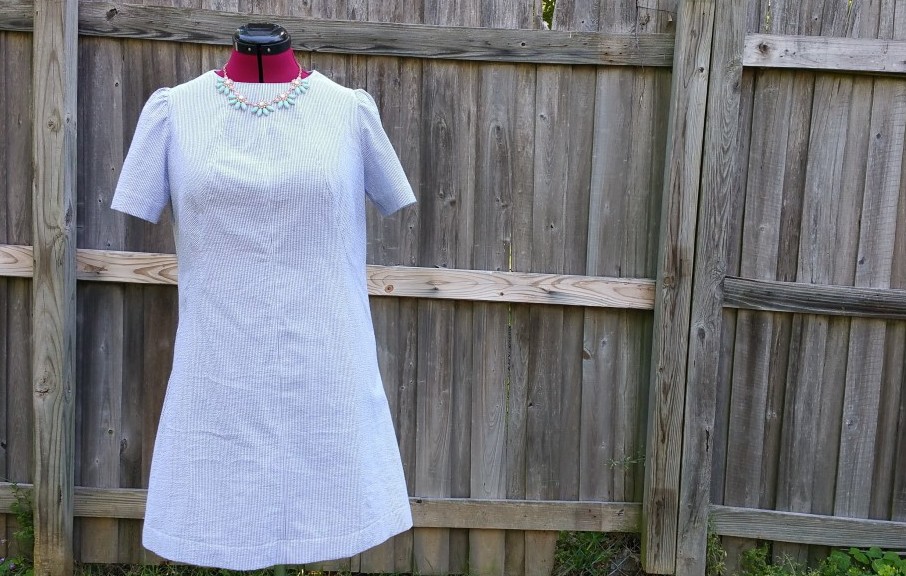
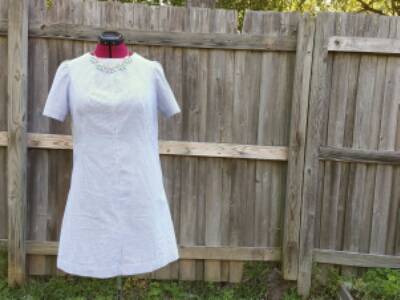
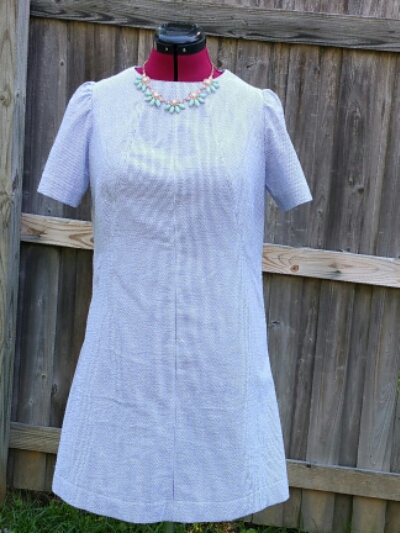
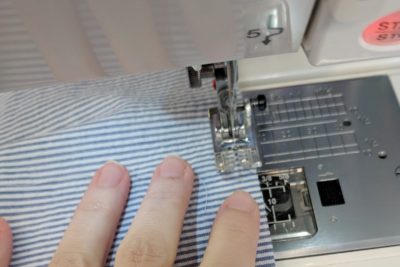
I love seersucker. I’ve sewn up seersucker for many, many babies, but I’ve never sewn up seersucker for myself. It was about time. I decided that the shift in McCalls 9268 would be the perfect match to my navy mini-stripe seersucker.

image

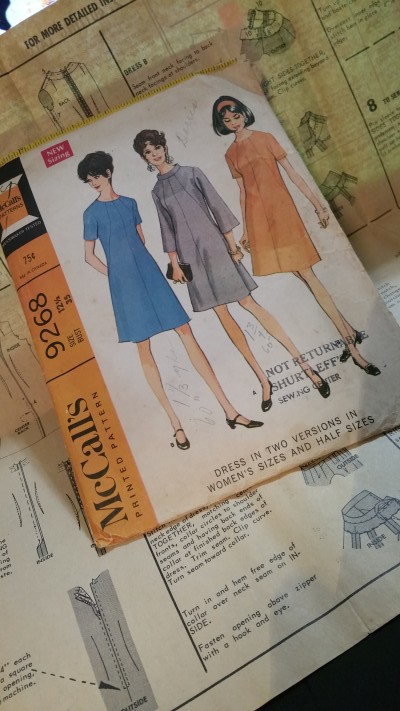
Review of McCall’s 9268, copyright 1968 

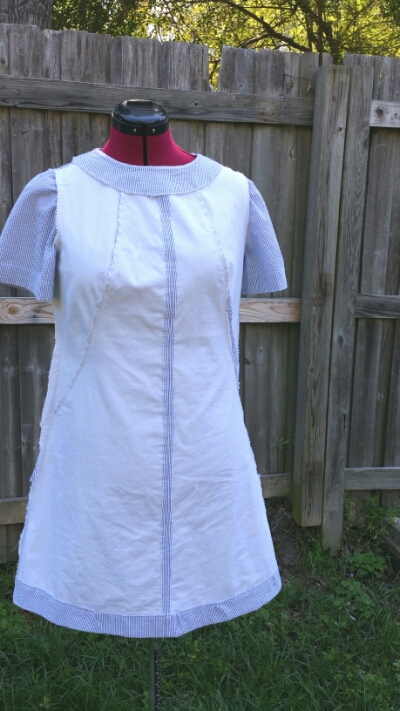
From the pattern envelope: A-line dress, lightly shaped by center and side front seaming and vertical back darts, has center back zipper. Dress may have short or three quarter length set-in sleeves, and may be underlined. Short sleeved dress has faced and interfaced neck, side front seams may be stitch trimmed. Dress with faced bell sleeves has bias band collar included in neck facing seam. Collar and neck are interfaced.

I’m certain my copy of this pattern is my grandmother’s as it has her name written on the front along with notes about how much 60″ fabric she’d need to stitch it up. The tissue has been cut out and a pattern layout for view A is circled. I decided to make an underlined version of view B.

Pattern Sizing 

One difference in vintage patterns and today’s patterns is the sizing. Most patterns today are multi-sized patterns, because frankly, most of us don’t fall into one size. This pattern is a single size-12 1/2.  It is considered a “half size”.  Here’s how the sizing chart compares:

  • Pattern from 1945, size 12:          Bust-30, waist-25, hip-33.
  • Pattern from 2016, size 12:          Bust-34, waist-26.5, hip-36
  • Pattern from 1968, size 12 1/2: Bust 35, waist-28, hip-37

Those measures are very close to mine, so I didn’t make any changes to the sizing before I stitched it up. Next time, I’ll decrease the bust by about 1/2 an inch. After putting the dress on, I did taper the side seams about 1/2 an inch at the waist.

Don’t let a single size pattern scare you off. If your largest measure matches, you can tweak the rest of the pattern to fit you. For this dress, I knew my hips would fit and with all the other seams, adjusting for the chest and waist was no problem.


Details, Details, Details

image

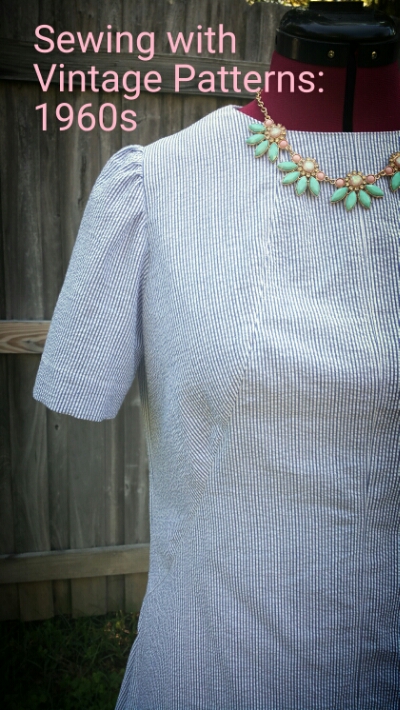
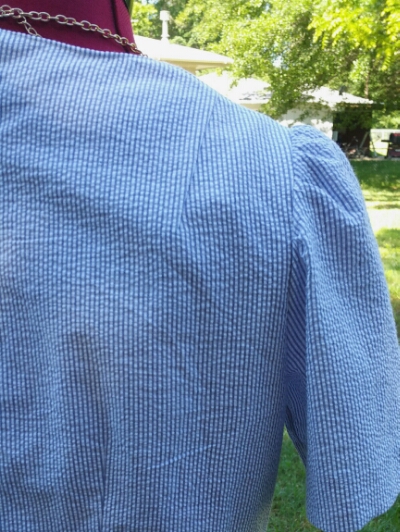
Details are key in vintage patterns. A great feature of this pattern is the shoulder dart. The dress has interesting front seams that wrap to the sides. These are similar to princess seams and make the dress easy to alter.

image

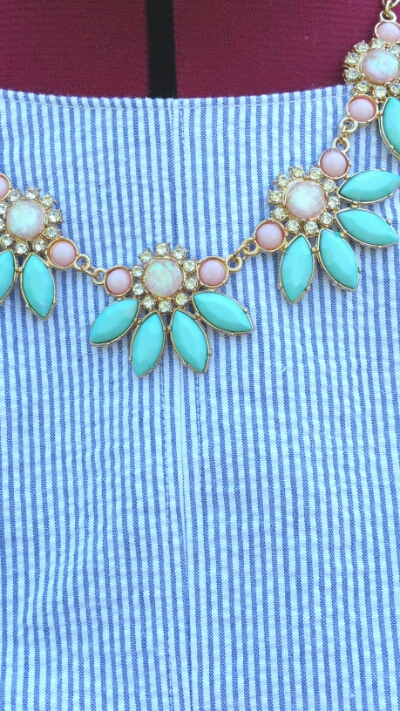
The pattern instructions have topstitching on either side of every seam. This step is a must as it is a detail that just makes the dress. I top-stitched the center front, the front side seams, and the side seams.

Finishing seams

image

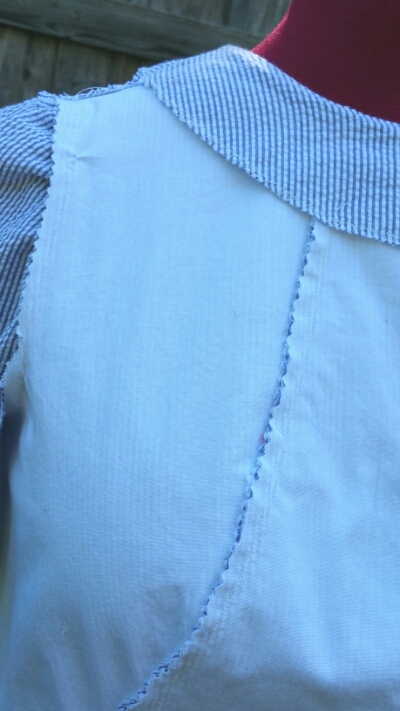
I finished my seams the way my grandmother always did. I finished the neck facing with a zig-zag stitch. Then I used my pinking shears on the my seam allowances.

Underlining

image

My grandmother tried to teach me that the inside of my garment should be as neat as the outside.

One other note:  I was slightly afraid of lining the dress completely.  This pattern has you baste the underlining and the main fabric of each piece together and then stitching your dress up, treating both pieces as one.  Piece of cake.

image

So what did we learn about sewing vintage patterns?

  • Don’t be scared off by single size patterns.
  • Vintage patterns have great details.
  • Put up your serger and finish your garment the old fashioned way.
  • Make the inside of your garment as pretty as the outside.
  • Underlining is easy. And necessary.

Tell me?  How many of your mom’s, grandmas’s, or other vintage patterns do you have?  Have you tried one yet?  What’s stopping you?