All posts by Salinda

Hey Y'all! I'm Salinda. Welcome to my little piece of the South. I'm a sewing instructor and the seamstress behind PersonaliTy Children's Clothes. I'm crazy in love with my hubby and Momma to 2 spunky swimmers! I'm addicted to Sonic Cokes, my New Orleans Saints, and Jesus!

You are in the right place. Promise.

You are here:


And here:


And here:


Because they are all now here:

Let me tell you why.

I  have been blogging since 2007.

For me, blogging started as a record of my sewing projects and a way to share family pictures with friends and family.  Since then, I’ve added a “Learn to Sew” blog and shop blog.

No real surprise that I found myself ignoring 2 blogs to focus on 1.  Then, I get bored and switch my focus to another.  Honestly all that inconsistency and splitting myself into boxes was really starting to frustrate me.

Since I am all these things at once (a mom, a homemaker, a wife, a sewing teacher and a seamstress), I’ve decided to trash the boxes and keep it real.

That’s what you’ll get here.  At my one blog.  All of me: the momma, the cooking, the personal sewing, a few shop updates, the business woman, the Pinterest addict, the Saints fan, the gardening, the sewing teacher!

Please let me know that you’ve found me.  You can leave me comment.  Better yet, click the “follow” button to your right and subscribe to the blog with your favorite reader.  Thank you!!

Enjoy the realness!

The first week in 2012

January 1st:  guess where?  Who Dat!

101_1271-1

January 2: being deliberate

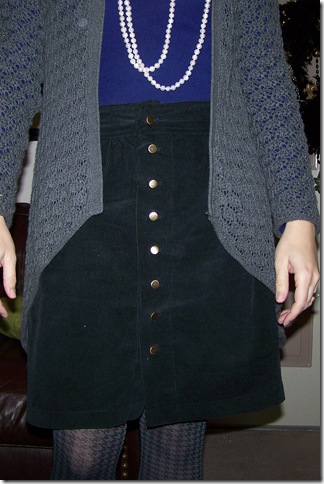
January 3: finished new black and gold skirt (no pattern, just cut some rectangles based on another skirt I love.)

101_1286

January 4: shipped my first orders of 2012

January 5: finished first week of Couch to 5K

January 6: discovered picnik


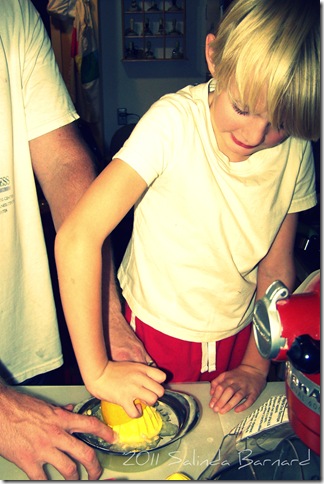
Making Lemonade 1

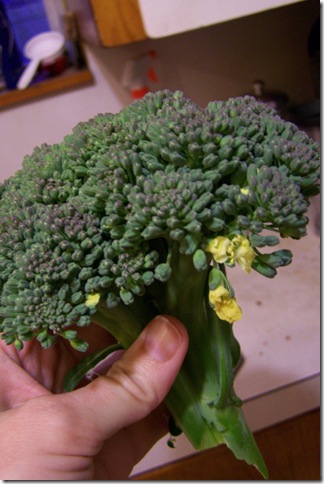
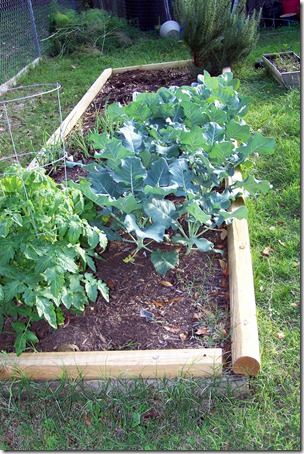
January 7:  a beautiful day to work in the garden  (we’re enjoying broccoli and cabbage right now.)

101_1298


Just a note:  For several years, I posted on 3 blogs:  1 for personal sewing and family stuff, 1 for sewing instruction notes, and 1 for my shop.  I find that this leads me to neglect any 2 at any given time.  Look for several things to change.  I think all three topics will be combined onto 1 blog, but I’m not sure where or when.  I’ll keep you posted.

What’s new? December 13th addition

On my sewing machine:

101_1178

101_1182Lots of gifts!

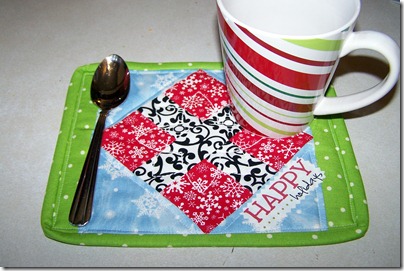
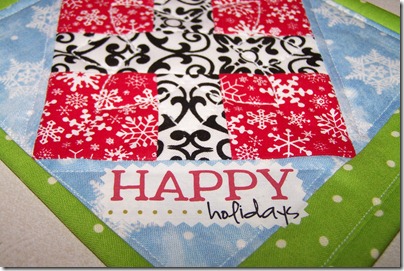
I made these rug mugs based on Sweetwater’s Sweet Tea quilt block.  I used labels from their shop too!


With the kids: 

 101_1199

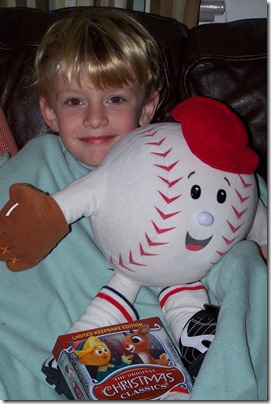
We hosted Buddy the Baseball from Mrs. M’s 1st grade class in our home last weekend.  He helped decorate the kids’ tree, watched Rudolph, and played Legos with C.


In the kitchen: 

101_1208 Lots more gifts!

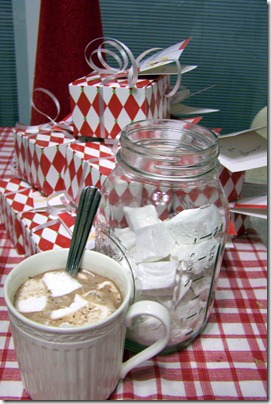
(You can find my homemade marshmallow recipe here.)


In the garden: 

Lettuce, lettuce, and more lettuce.  Salad, anyone?

What’s new? December 6th addition

What’s new?  Here are a few peeks at what we’ve been up to this past week:


On my sewing machine:
101_1138
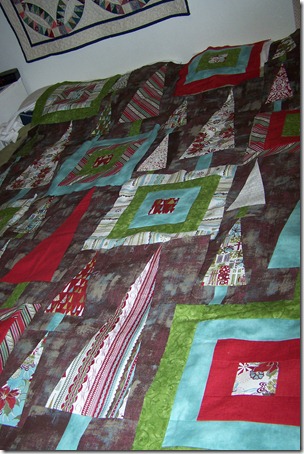
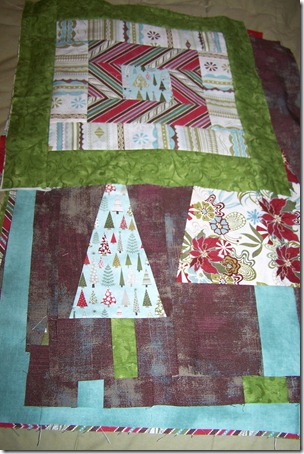
I’m almost finished with this quilt top.  I was drawn to the modern colors and design, so with Momma’s help, I have almost pulled it together.  The picture above is actually just the blocks laid out on my bed.  It really is a big pile of Christmas tree blocks and courtyard squares that looks like this:
101_1143


With the kids:
101_1125‘Tis the time for Christmas musicals!  C was an angel in the angelic hosts while his big sister donned a beard as Isaiah.  The kids were incredible under Mrs. Vee and Adrianne’s direction.


In the kitchen:
101_1116
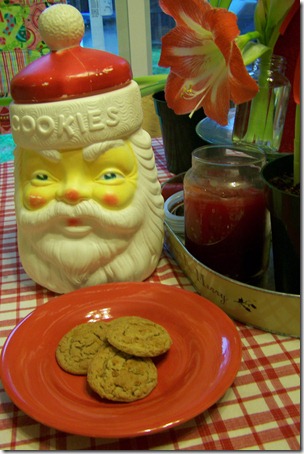
Christmas cookies! 


In the garden:
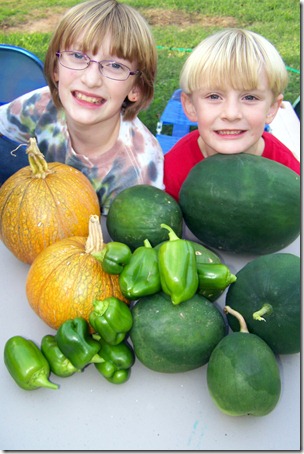
101_1106 Our December harvest.  What?  You don’t have watermelons in your garden in December.  Well…
Actually, this was the last of the summer garden.  The frosts took care of the pumpkin and watermelon vines, so we’ve pulled those.  We are left with tomatoes (that are probably done), lettuces, cabbages, and broccoli.
101_1110

Simple Pillows

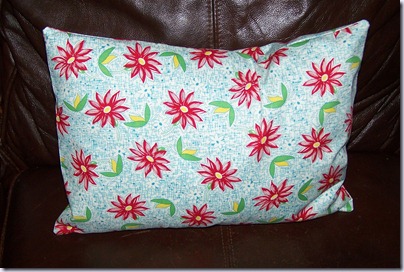
Here’s a simple facelift for your couch—pillow covers!
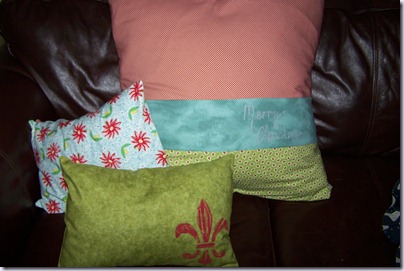
101_1174
I like to make simple envelope pillow covers.  Here’s how:
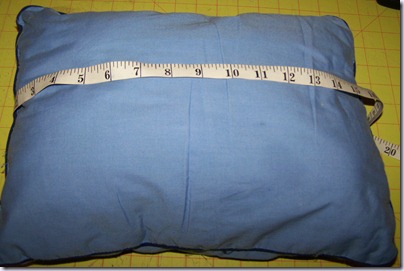
1.  Measure your pillow.  You’ll need to know the length and width.
101_1183
2.  Do a little math.  This pillow measured 11 x 15 inches.

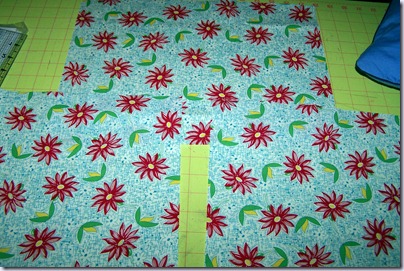
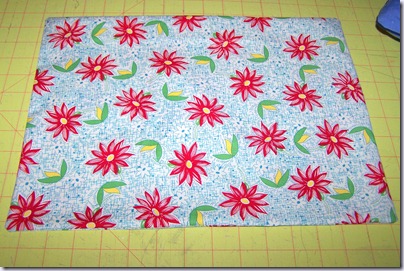
  • Front pillow piece:  You need 1 rectangle.  Add 1/2 inch to the length and 1/2 inch to the width.  For this pillow, I used 1 rectangle measuring 11 1/2 x 15 1/2 inches.  
  • Back pillow pieces:  You need 2 rectangles.  The width will be the same as the front piece.  For the length of each piece, divide the length of the pillow by 2 and add 3 1/2 inches.  My 2 rectangles measured  11 1/2 x 11 inches.

101_1157
3.  Hem one long edge of each of the back pillow pieces.
101_1159
4.  Stack your fabric like this:

  • Front piece right-side up.
  • Back pieces wrong-side up, hem toward the middle.

101_1160 101_1161
5.   Stitch all the way around the pillow with 1/4 inch seam allowances.
101_1162
6.  Trim the corners, turn your case right side out, and press it well.
101_1163
7.  Slip it on your pillow.
101_1169
A few notes: 
–This envelope pillow will work for any rectangular/square pillow.  Just measure your pillow and do the same math you did above. 
–If you are worried about the back overlap gaping, you can add more than 3 1/2 inches to each back piece, or just attach a small piece of Velcro to either side!
–Embellish away!  I try to remember to embellish the front before I put my pillows together.  You can paint, piece, add ribbon or ric rac, anything you want, just as long as the front finished pieces measures 1/2 inch long and 1/2 inch wider than your pillow.

1 Skirt, 6 Ways

big skirt post

I love a good TNT (Tried And True) pattern.  The basic idea is this:  find a pattern you like, make it fit and the add (or subtract) design details to create the garments you want.
In my 1 Skirt, 3 Ways class, I start with the essential, flattering-to-everyone A-line skirt. I use McCalls 3341 during the class:

M3341

Using this pattern, I made this skirt, just as the pattern instructed. (For a review of the pattern, please see my review on PR.)
100_7821
The easiest way to tweak a skirt is to take it from fitted to an elastic-waist gathered skirt by leaving out the darts and placing the center back on the edge of the paper eliminating the center back seam. I also added a little extra at the top so I could make a casing for my elastic waist. Here’s skirt #2:
100_7824


(sorry about the crooked picture)
Skirt # 3 was altered to straighten it to a pencil shape, add pleats and a waist band.  You can get the details in my PR review.
100_7820
Skirt # 4 was made like Skirt #2.  I did add a little extra fabric by placing the “PLACE ON FOLD” mark about 1 inch from the fold.
100_7813
You can read the process for Skirt #5 on the PR review.
100_7814
Skirt #6 was made from a cotton lawn.  I loved the way the fabric draped, and that inspired me to make the ruffle. This skirt is lined with a rayon lining and has an elastic, gathered waist.
100_7810