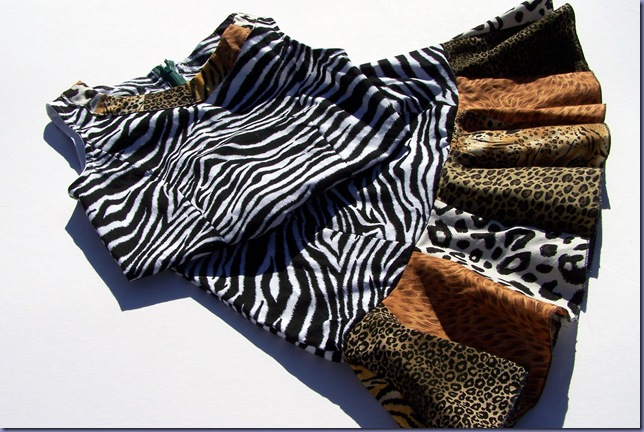
I showed you a picture of this little dress while it was in progress.
Pretty close to her sketch.
Sorry I don’t have a picture of my Big Girl wearing it. 
You can find the step-by-step pictures of how I made it here.
You can find my PR review here.
I hate doing laundry.
But, we must.
This past year, we made an effort to hang our laundry on the line to dry.
I did okay, but somedays it was just easier to toss it in the dryer.
One obnoxious thing: keeping up with those silly clothes pins.
I’d seen some different tutorials for a clothes pin bag.
Some I liked. Some I didn’t.
I really liked this tutorial, but I didn’t have a super-cute vintage placemat to use.
So, I tweaked it and made my own clothes pin bag.
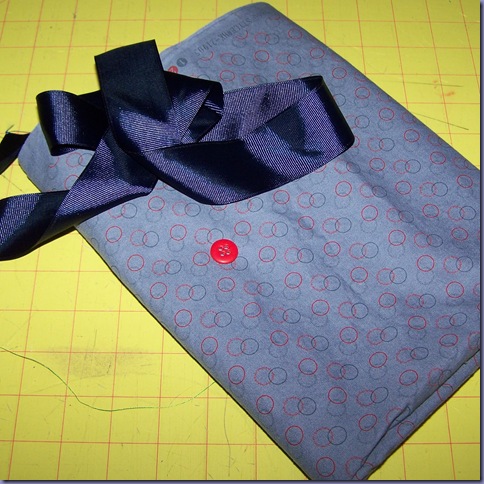
Start with 1/3 yd of fabric, about 18 inches of ribbon and a button. (You could also use a fat quarter, but your clothes pin bag would be a little smaller than mine.
Cut 2 rectangles, each 12 x 18 from your fabric. (If you are using a fat quarter, yours will be about 11 x 18.)
Center your ribbon along the top edge of the right side of one rectangle of fabric.
Top that with your other rectangle, right side down.
Stitch around your rectangle with 1/2 inch seam allowances, leaving a 3 inch hole for turning.

Turn your piece right side out and press it well.
Fold your rectangle in half. Pin the edges.
Sew these side seams with a 1/2 inch seam allowance.
To make the boxy corners on your bag, pinch the sides down to the bottom. 
Match the center seam and the center bottom. 
Make a line about 1 inch in from the tip of the corner. This line should be 2 inches long. 
Stitch along this line. Stitch another seam, just outside of the first. 
Trim your corners with pinking shears.
Top stitch around the top edge of your bag. (I forgot to take a picture of this step.)
This will close the opening you left for turning.
Decide how long you want your ribbon. Mine is just long enough to wear on my wrist.
I folded under the raw end of my ribbon. Then I put a buttonhole in the grosgrain. (If you don’t like to do button holes, you could just do velcro here.)
Add a button, inside the bag on the same side as the ribbon. 
Embellish the front of your bag with something fun. I choose this “Count Your Blessings” label from my stash! 
Hopefully, it will remind me not to whine about the laundry!

I have to show off one of my Christmas presents.
If you’ve been a blog reader for more than a few months,
you know that I can pears every year.
Every year.
So…
imagine my surprise
and my laughter
when I opened my first gift from my mom to find this:
Yep. Those are pears.
Mom pieced, appliquéd, and quilted this beautiful table runner.
Then she finished it off
with a custom label.
Thanks Mom!