Category Archives: Everything Else

#PCCjustforme: A contest just for you

#PCCjustformecontest logo

I love to see photos of sweet little ones in jon jons and jumpers from PersonaliTy Children’s Clothes, so much that I decided to have a little contest. What can you win?  A football truck jonjon (or jumper) in the school colors of your choice, just in time for tailgating season!

Here’s how to play along:

Step 1:  Share your favorite photo of your sweet little one wearing their custom piece from PersonaliTy Children’s Clothes on Instagram and tag it with #PCCjustforme. 

Step 2:  Make sure your instagram feed isn’t private so that I can see your photo.  If it is, you can follow @salindab and I’ll follow you back!  I’ll need to be able to comment on your photo.  If you account is public, you are still welcome to follow me, but you don’t have to.

Those pesky fine details:

Contest runs:   8am July 1 to 8pm July 7

How I’ll pick a winner:  I’ll comment on your photo with a number like this.  (001, 002, 003, etc) .  On Monday, July 8th, I’ll enter these numbers into random.org to pick a winner! I’ll notify the winner with a comment on their photo.  Please give me 24 hours from the time you post the photo to get it numbered.  If I’ve missed it after that time, you can email me to be sure I saw it.

Who can enter:  anyone posting a picture of their little one in a piece I made on Instagram and tagging it correctly.  It must be a PersonaliTy Children’s Clothes piece (tee shirt, bloomer, dress, jon jon, longall etc.)  It doesn’t have to be a recent picture.  Please make sure your photo belongs to you.  Professional photos are often protected by copyright, so please be honest and fair to the photographer.  If you photo wins, you are giving me permission to share the photo on FB, Twitter, this blog, and my two shop websites.

Good luck!  I can’t wait to see all these sweet little ones!


Ready, Set, Serge

serieslabel.jpg

So my sewing friends, are you feeling a little more comfortable with your serger?  If you’re just joining us, during the last few weeks, I’ve introduced a few tidbits to make your serger a little more user-friendly.  Here’s what we’ve covered so far:

Week 1:  the parts of your machine and how to thread it

Week 2:  Selecting needles and threads for your project

Week 3:  Balancing the tension on your machine

And now we serge!

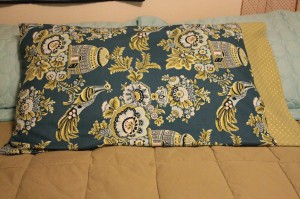
This basic pillowcase is a simple way to use all you’ve learned.  (This makes a standard pillowcase.)

IMG_7170

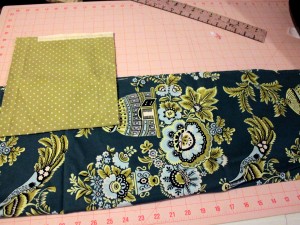
1.  Cut 2 rectangles:

  1. 9″ x WOF of contrast trim
  2. 27″ x WOF of main fabric.Pillowcase Step 1

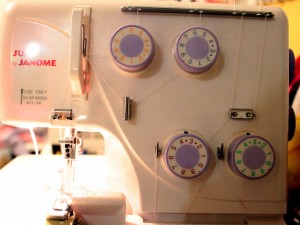
2.  Set your tension dials on your serger to match the settings that work best based on your tension maps.

Pillowcase Step 1A

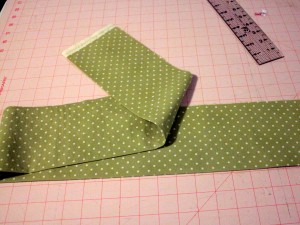
3.  Fold the contrast trim in half, lengthwise and press well.Pillowcase Step 2

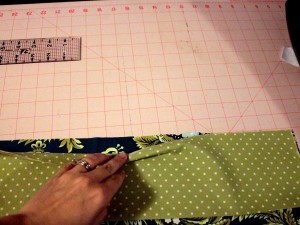
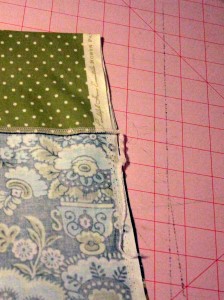
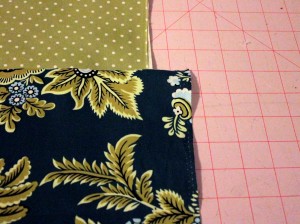
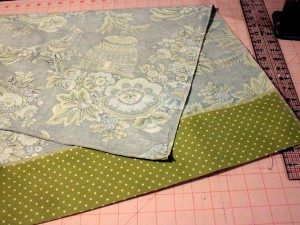
4.  Align the raw edges of the contrast trim and the main fabric, right sides together. Don’t worry if these two pieces of fabric aren’t the same width.  You can trim later.Pillowcase Step 3

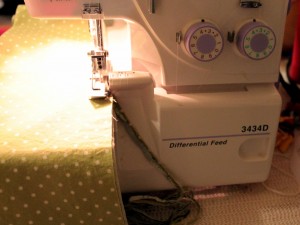
5.  Serge across these raw edges.

Pillowcase Step 4

Pillowcase Step 4A

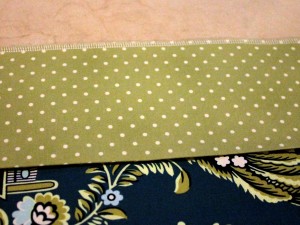
6.  Press open, pressing seam towards main fabric.

7.  Fold the pillowcase in half, wrong sides together, aligning raw edges.

Pillowcase Step 5B

Now’s the time to trim up any uneven edges.Pillowcase Step 5

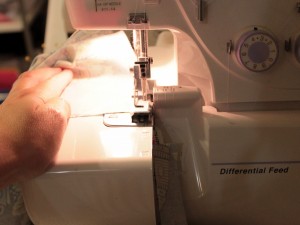
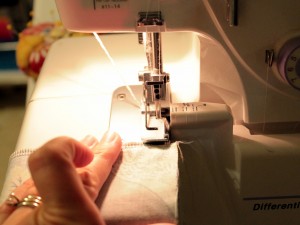
8.  Serge down the long edge of the pillowcase.  Serge from end to end.  (You can’t pivot a corner like on a sewing machine.)

IMG_7161

9.  Serge across the bottom edge of the pillowcase.  (Again, you can’t pivot, so after you finish the long edge, take the pillowcase off the machine and replace the short edge.)

IMG_7162

10.  Turn it right side out and enjoy!

IMG_7164

How’s that for a quick and easy project with your serger!


Tension Maps for Your Serger

series label

With all those dials and knobs on your serger and all the thread options available, balancing your serger thread tensions can be very intimidating. 

IMG_6584

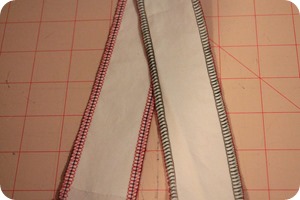
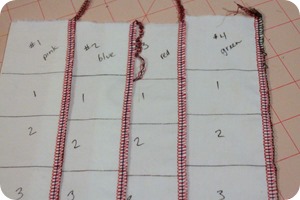
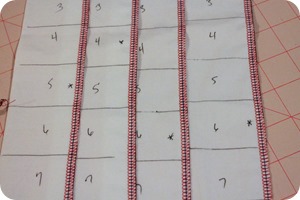
Making a tension map can be very helpful.  I could show you myself, but why recreate the wheel.  Watch this video instead:


Just a few notes of my own: 

1.  I started with all my dials on a 4.  Then I changed the first dial to a 0 and worked my way up.  As I found each thread’s ideal tension, I adjusted the dial to that and move one to the next dial on the left.

IMG_6583

2.  I actually found that I needed to make a second set of tension maps for use when I use woolly nylon in the looper threads.  I don’t know if youl’ll need to too.

IMG_6587