Category Archives: Everything Else

DIY Fringe Scarf

IMG_5199

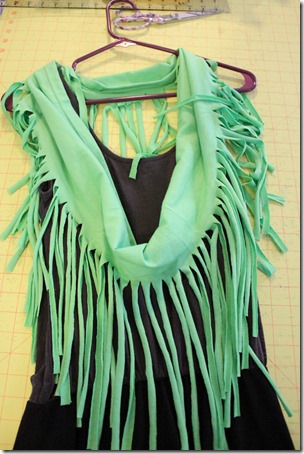
Oh my goodness!  Easiest project ever!  This scarf takes about 15 minutes and can be so cheap, or even free, depending on what’s in your stash!  I found the idea on Pinterest, but I recreated the steps here:

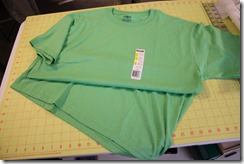
1. Find a tee shirt.  Any tee shirt would do, but I wanted a green scarf, so I found mine at Michaels for $2.99.  IMG_5185

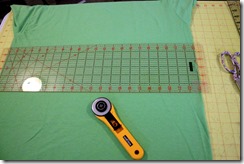
2.  Chop it off below the arm holes.IMG_5186

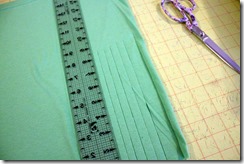
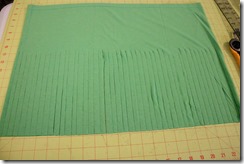
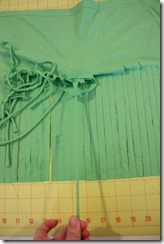
3.  Slice into the scarf.  I made 1/2 inch slices about half way up the rectangle.

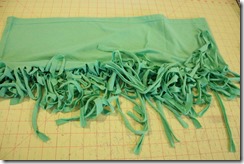
IMG_5190IMG_5193

4.  Gently tug on each of the strips, stretching them.  They will curl naturally as you pull.IMG_5197IMG_5198

5.  Ignore the crummy cell phone picture and enjoy your new easy-peesy scarf.

IMG_20130320_082256_096-1       

Seersucker for Easter

IMG_5721

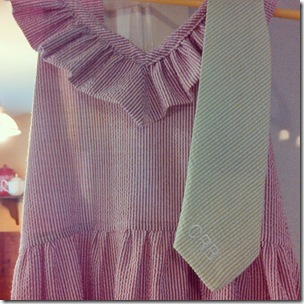
I tried 2 new patterns this Easter  Both the tie pattern and the dress pattern were very well written and had step-by-step pictures that would make it simple for even a beginner sewing enthusiast to follow along.


484232_10151381837895963_1661315595_n

The tie pattern from Butterfly Tree was very simple, however, I thought their pattern instructions were not the most efficient.  I made a second one just with common sense and found it much quicker.  The only change I made to this pattern was to monogram it before stitching together.  Christopher got so many compliments on it.  I’ve been asked if I’ll carry ties in my shop.  I probably will, but not this pattern.  I personally found the tie slightly too narrow for my taste and I didn’t care for the construction instructions.


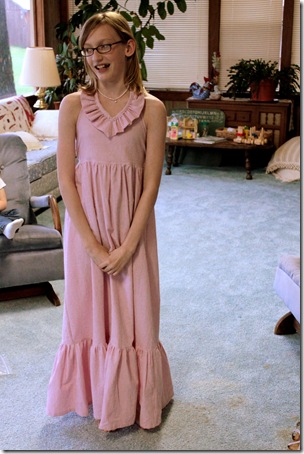
IMG_5744The dress is Emmaline from Violette Threads.  This is a maxi dress with a ruffled, v-neck and ruffle variations along the bottom of the dress.  My big girl choose the red stripe seersucker from the shop stash.  This pattern only runs up to a 10, but it was very simple to grade it up one more size.  Addie chose the single ruffle design, thought the triple ruffle along the bottom would be really cute too!  This dress was surprisingly quick to stitch up.  The dress only took me about 2 hours!  I can’t wait to try more patterns from Violette Threads.  Addie already has her next dress picked out!


Happy Easter!

IMG_5760

The idea of the new birth that eggs bring is such a beautiful idea. 

Therefore, if anyone is in Christ, he is a new creation; old things have passed away, and look, new things have come.  2 Corinthians 5: 17

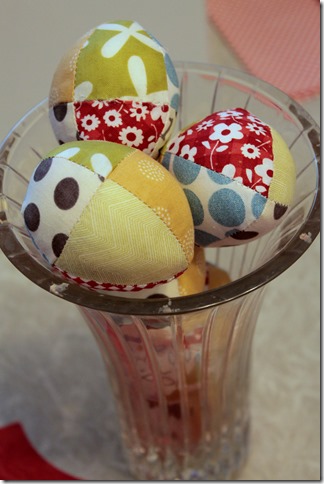
We didn’t dye Easter eggs this year.  Instead, I spent a few minutes stitching up these.  Addie and Christopher stuffed them for me. 

IMG_5762

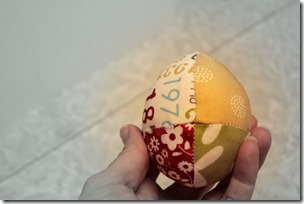
The pattern is from Sweetwater’s little sprout collection.  I love these quick little patterns.  They give me a great way to use up tiny bits of fun new fabric collections.

IMG_5761

A denim skirt refashion

IMG_20130318_204430_110

The facts:

  1. I needed wanted a new denim skirt.
  2. I have a straight one that I’m constantly tugging on.
  3. I’m trying not to spend any much money on my closet right now.

The solution: 

    A trip to Goodwill, my scissors, and my sewing machine!

Now, I’ll be the first to admit, I don’t enjoy thrift shopping.  Sure, the prices are great, but I just find it kinda icky to go through someone else’s clothes.  However, I figured it wouldn’t hurt to look.

On first glance through the racks, I found 3 denim skirts that held potential.  One was a straight skirt, in my size, $4.  The second was a mid-calf length straight skirt, in my size, $4. The third was a mid-calf length fuller skirt, in my size, $2. 

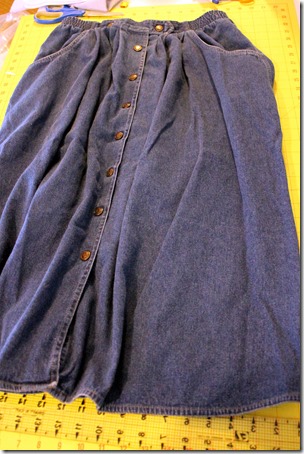
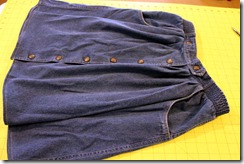
Score!  The third skirt fit the bill—cheap enough I could mess it up, not straight so I wouldn’t be tugging on it, and my size.  Here it is:
IMG_5286

Not cute, is it?  Yep, that is an elastic waist band you see.  But, look at those pockets.  This thing had potential!

So, how’d I do it?

1.  Wash the skirt.  Twice.  Told you I have a thing about other people’s clothes.IMG_5290
2.  After pinning up a few lengths and checking it out with a mirror, I decided I needed the skirt to be about 9 inches shorter.  Figuring a 1/2 inch hem, I chopped off about 8 1/2 inches.  Since my skirt had a little curve to the hem, I was careful to measure up 8 1/2 inches from the hem and draw my cutting line.  Just cutting straight across would have cause the skirt to hike up in various places along the hem.IMG_5291
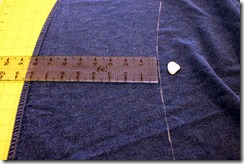
3.  I decided to serge the bottom edge of my skirt.  Just ‘cause I don’t like ravels and such.  If you don’t have a serger and you wanted to finish that raw edge, you could use an overcast stitch along the edge, zig zag along the edge, or just cut it with pinking shears.IMG_5293
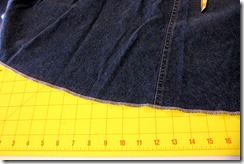
4.  I pressed up my hem.  Basically, I folded up 1/4 inch (the width of my serged edge) and then folded it again another 1/4 inch.  I made a narrow hem because the skirt is so full.  Had this been a straight skirt, I probably would have used a deeper (1 to 1 1/2 inch) hem.IMG_5296
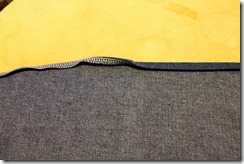
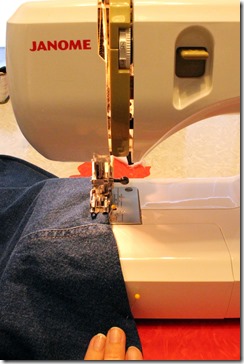
5.  I stitched my hem in place with a straight stitch.  I chose to use a yellow thread that matched the top stitching on the rest of the skirt.IMG_5297
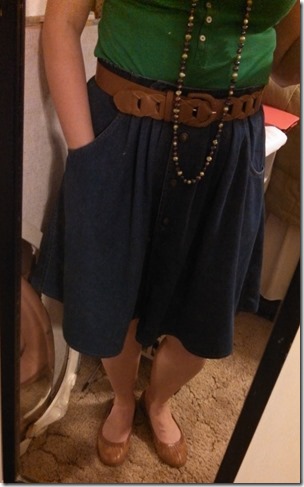
6.  All done!  I paired it with some cute flats and a wide belt to hide the elastic waistband. 
IMG_5299

Having now worn it for a day, I can assure you, it was wonderful to not have tug on my skirt all day.  And those pockets—worth every penny of my $2!