Category Archives: Everything Else

Presser Feet: Hemming Foot

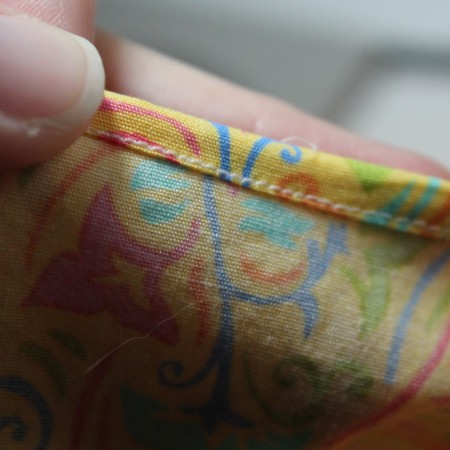
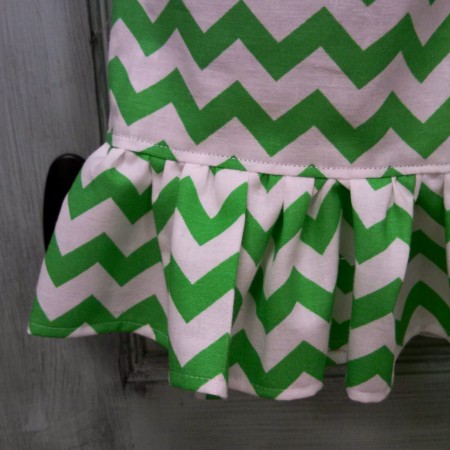
mardi gras ruffle pant set with Louisiana and fleur de lis ruffle closeup

I’ve made a lot of ruffle pants lately.  A lot.  I have two tricks that make these sweet pants come together quickly with a professional finish.  Here’s the first trick:
IMG_8189 (2)

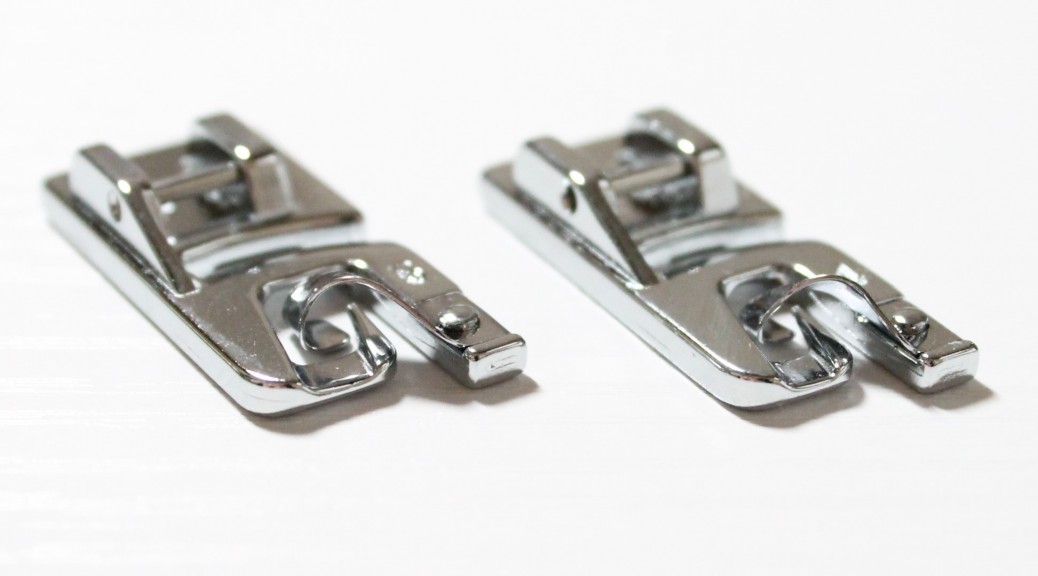
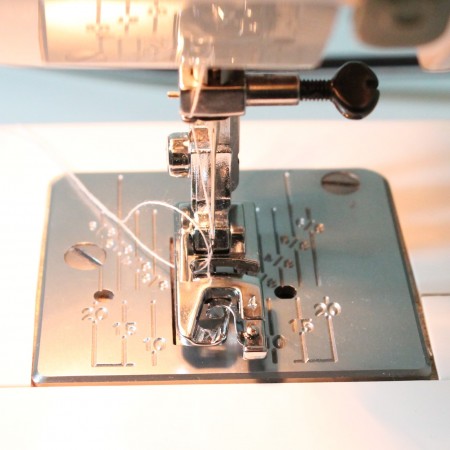
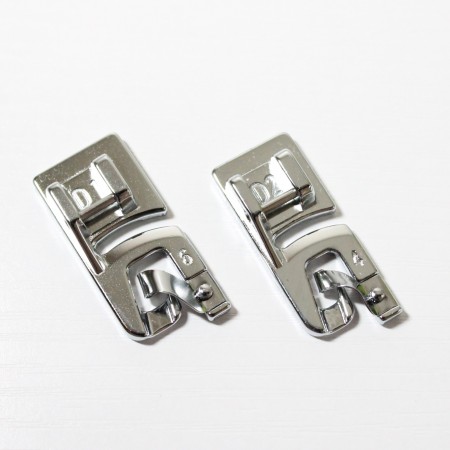
That’s a hemming foot.  It’s one of my favorite presser feet for my sewing machine.  Your machine may have come with one.  If not, you can find one pretty easily at Hancock’s or JoAnn’s or your local sewing machine center or here.
IMG_8186 (2)

Confession time:  I’ve had a hemming foot for years.  I didn’t start using it until about 2 years ago.  Why?  Well, it had a little learning curve.  Please don’t let that stop you.  Get out your presser foot and let’s start sewing.

Here’s what you need to know:


  • The foot is designed to roll a narrow hem and stitch it in place.IMG_8209 (2)
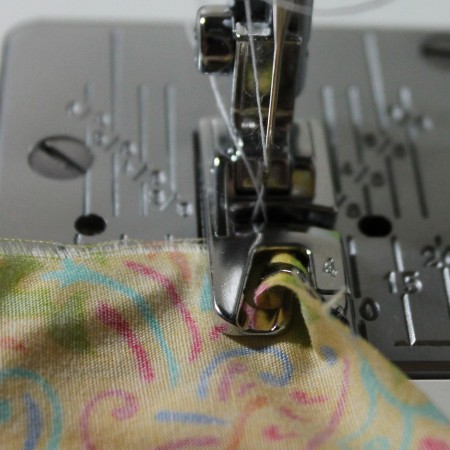
  • To sew with it, place your fabric RIGHT SIDE DOWN on the faceplate.IMG_8202 (2)
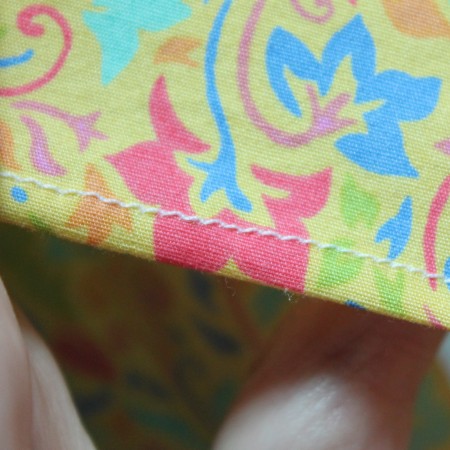
  • Make sure you like your bobbin thread color because this is what will show on the finished product.
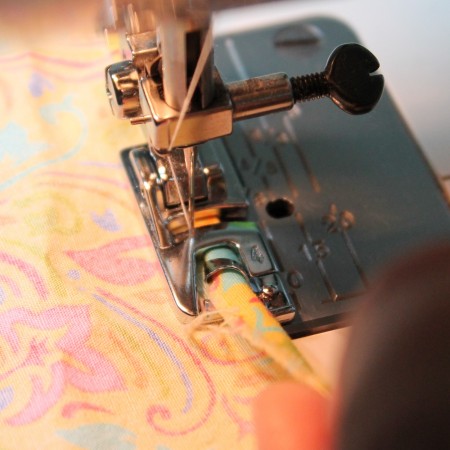
  • I fold up and hold 1/4 to 1/3 inch of the edge of the fabric.   This starts the fold that the foot makes in the fabric.IMG_8207 (2)
  • I use my needle in the middle position because that is just inside the fold.
  • I like to use a slightly longer stitch (3mm, as my default is usually 2.5) as this will be a top stitch.
  • When I’m making ruffles for pants, I hem each fabric stripe before gathering it.
 

IMG_8208 (2)

So that’s it.  Do you have a hemming foot?  What size is yours?  I have a 4mm and a 6mm. Get it out, put it on the machine and try it out on a few strips of scrap fabric.  I’d love to see your hems.  You can share pictures with me on Facebook or Instagram,

February Sewing Day

I’m so excited about a new event on my sewing class calendar!

Sewing Days!

February’s Sewing Day is Thursday, Feburary 6th!  I’ll be teaching 3 one-hour sessions.  You can choose to take 1, 2 or all 3. The sessions will vary from month to month. Here are the details:

February Sewing Day
February 6, 2014
@Lil’ Miss Priss on Youree Drive

11:00 Using a ruffle foot
12:00 Gathering (with and without a ruffle foot)
1:00  Using your rolled hem foot
You’ll need your machine and a yard or so of scrap fabric.  You can sign up here.

a Project for { Home }: Pillow updates

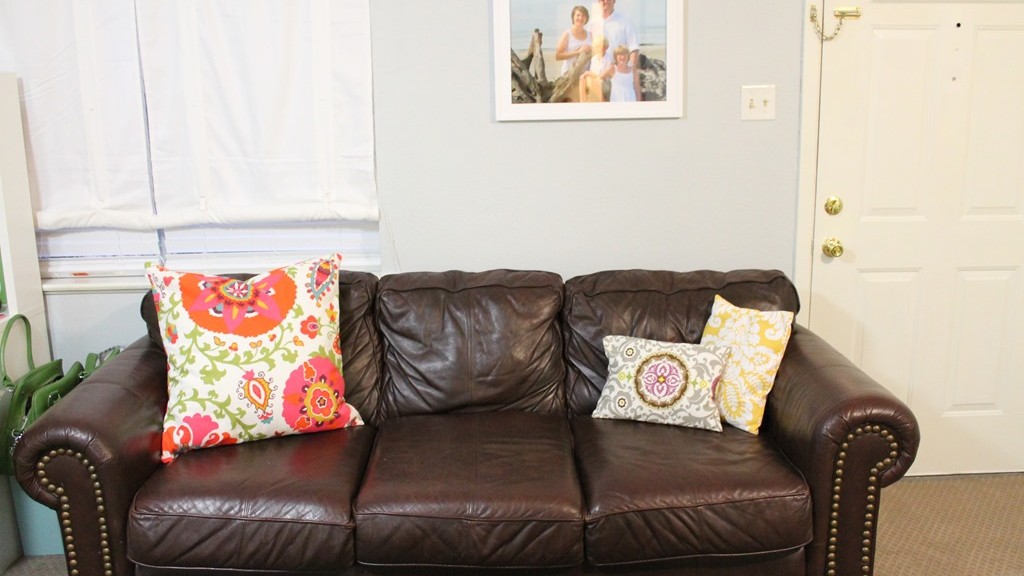
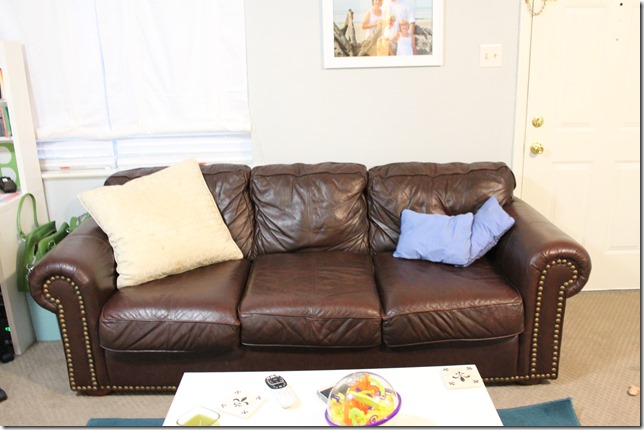
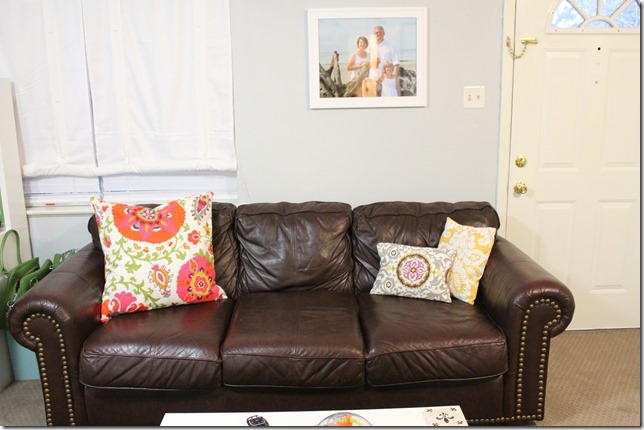
With the house on the market, I needed a quick update in the living room.  This would never do:

IMG_7921

But this would:

IMG_7922

(These colors make me smile.)

These pillow covers only cost about $15 dollars and took about an hour to make.  They are stitched with a basic straight seam, so if you can thread your machine, you can make these.

Here is the project:

IMG_7925

Envelope Pillow Covers

Experience Level:  Beginner

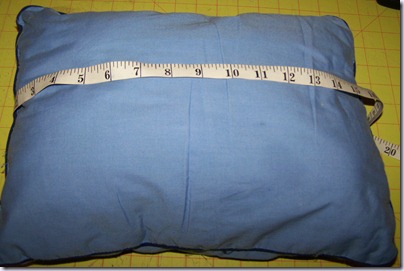
1.  Measure your pillow.  You’ll need to know the length and width.

101_1183

2.  Do a little math.  This pillow measured 11 x 15 inches.

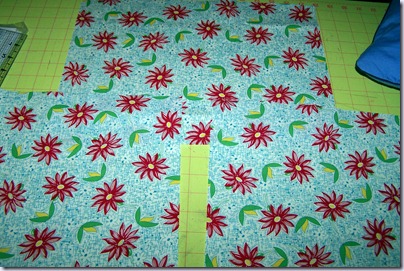
  • Front pillow piece:  You need 1 rectangle.  Add 1/2 inch to the length and 1/2 inch to the width.  For this pillow, I used 1 rectangle measuring 11 1/2 x 15 1/2 inches.  
  • Back pillow pieces:  You need 2 rectangles.  The width will be the same as the front piece.  For the length of each piece, divide the length of the pillow by 2 and add 3 1/2 inches.  My 2 rectangles measured  11 1/2 x 11 inches.

101_1157

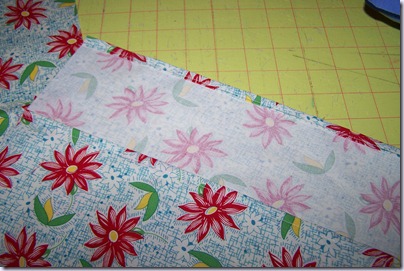
3.  Hem one long edge of each of the back pillow pieces.

101_1159

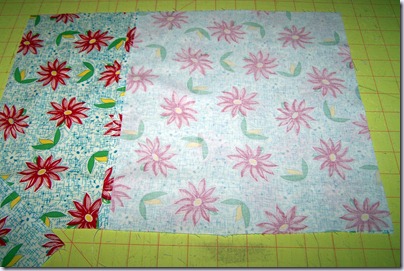
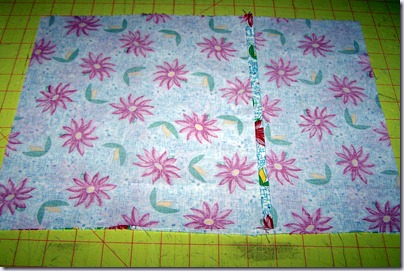
4.  Stack your fabric like this:

  • Front piece right-side up.
  • Back pieces wrong-side up, hem toward the middle.

101_1160101_1161

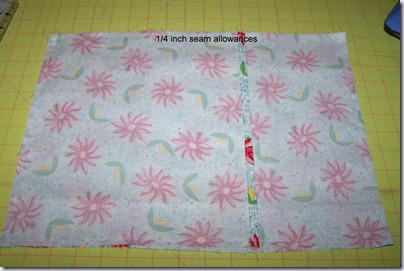
5.   Stitch all the way around the pillow with 1/4 inch seam allowances.

101_1162

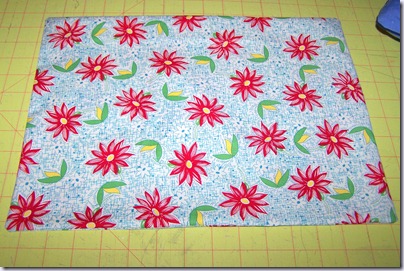
6.  Trim the corners, turn your case right side out, and press it well.101_1163

7.  Slip it on your pillow.101_1169

A few notes: –This envelope pillow will work for any rectangular/square pillow.  Just measure your pillow and do the same math you did above.

–If you are worried about the back overlap gaping, you can add more than 3 1/2 inches to each back piece, or just attach a small piece of Velcro to either side!

–Embellish away!  I try to remember to embellish the front before I put my pillows together.  You can paint, piece, add ribbon or ric rac, anything you want, just as long as the front finished pieces measures 1/2 inch long and 1/2 inch wider than your pillow.

****This tutorial first appeared in December 2011.