a Project for { Home }: Pillow updates

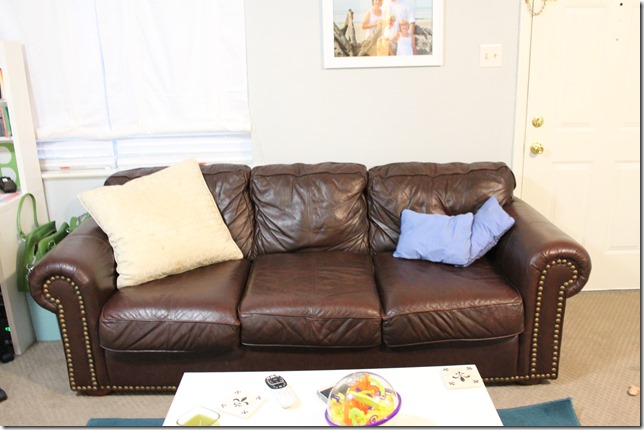
With the house on the market, I needed a quick update in the living room.  This would never do:

IMG_7921

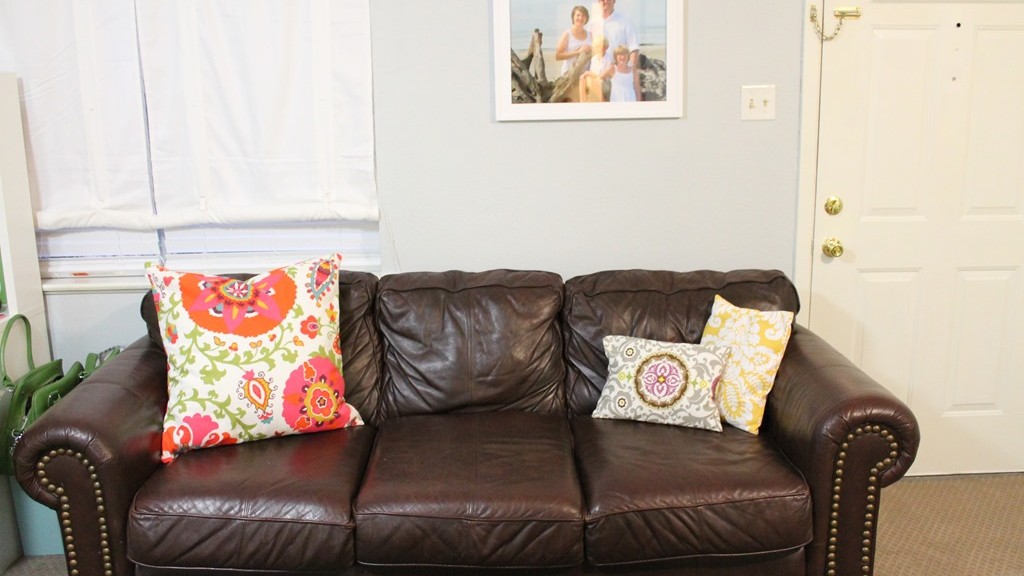
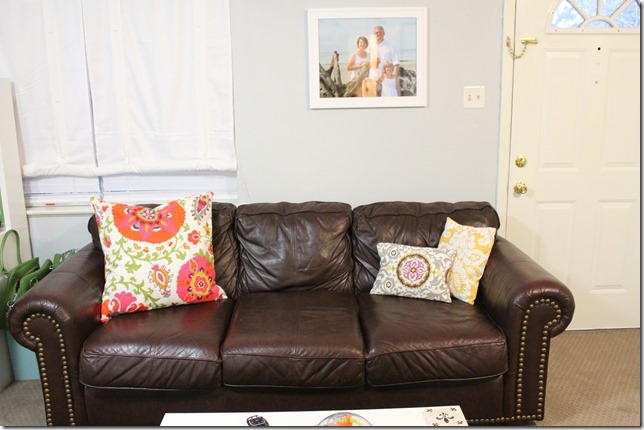
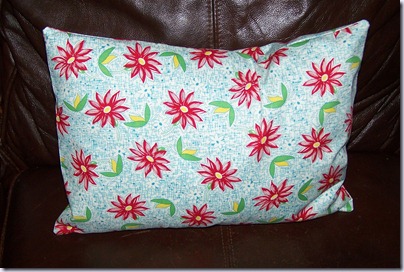
But this would:

IMG_7922

(These colors make me smile.)

These pillow covers only cost about $15 dollars and took about an hour to make.  They are stitched with a basic straight seam, so if you can thread your machine, you can make these.

Here is the project:

IMG_7925

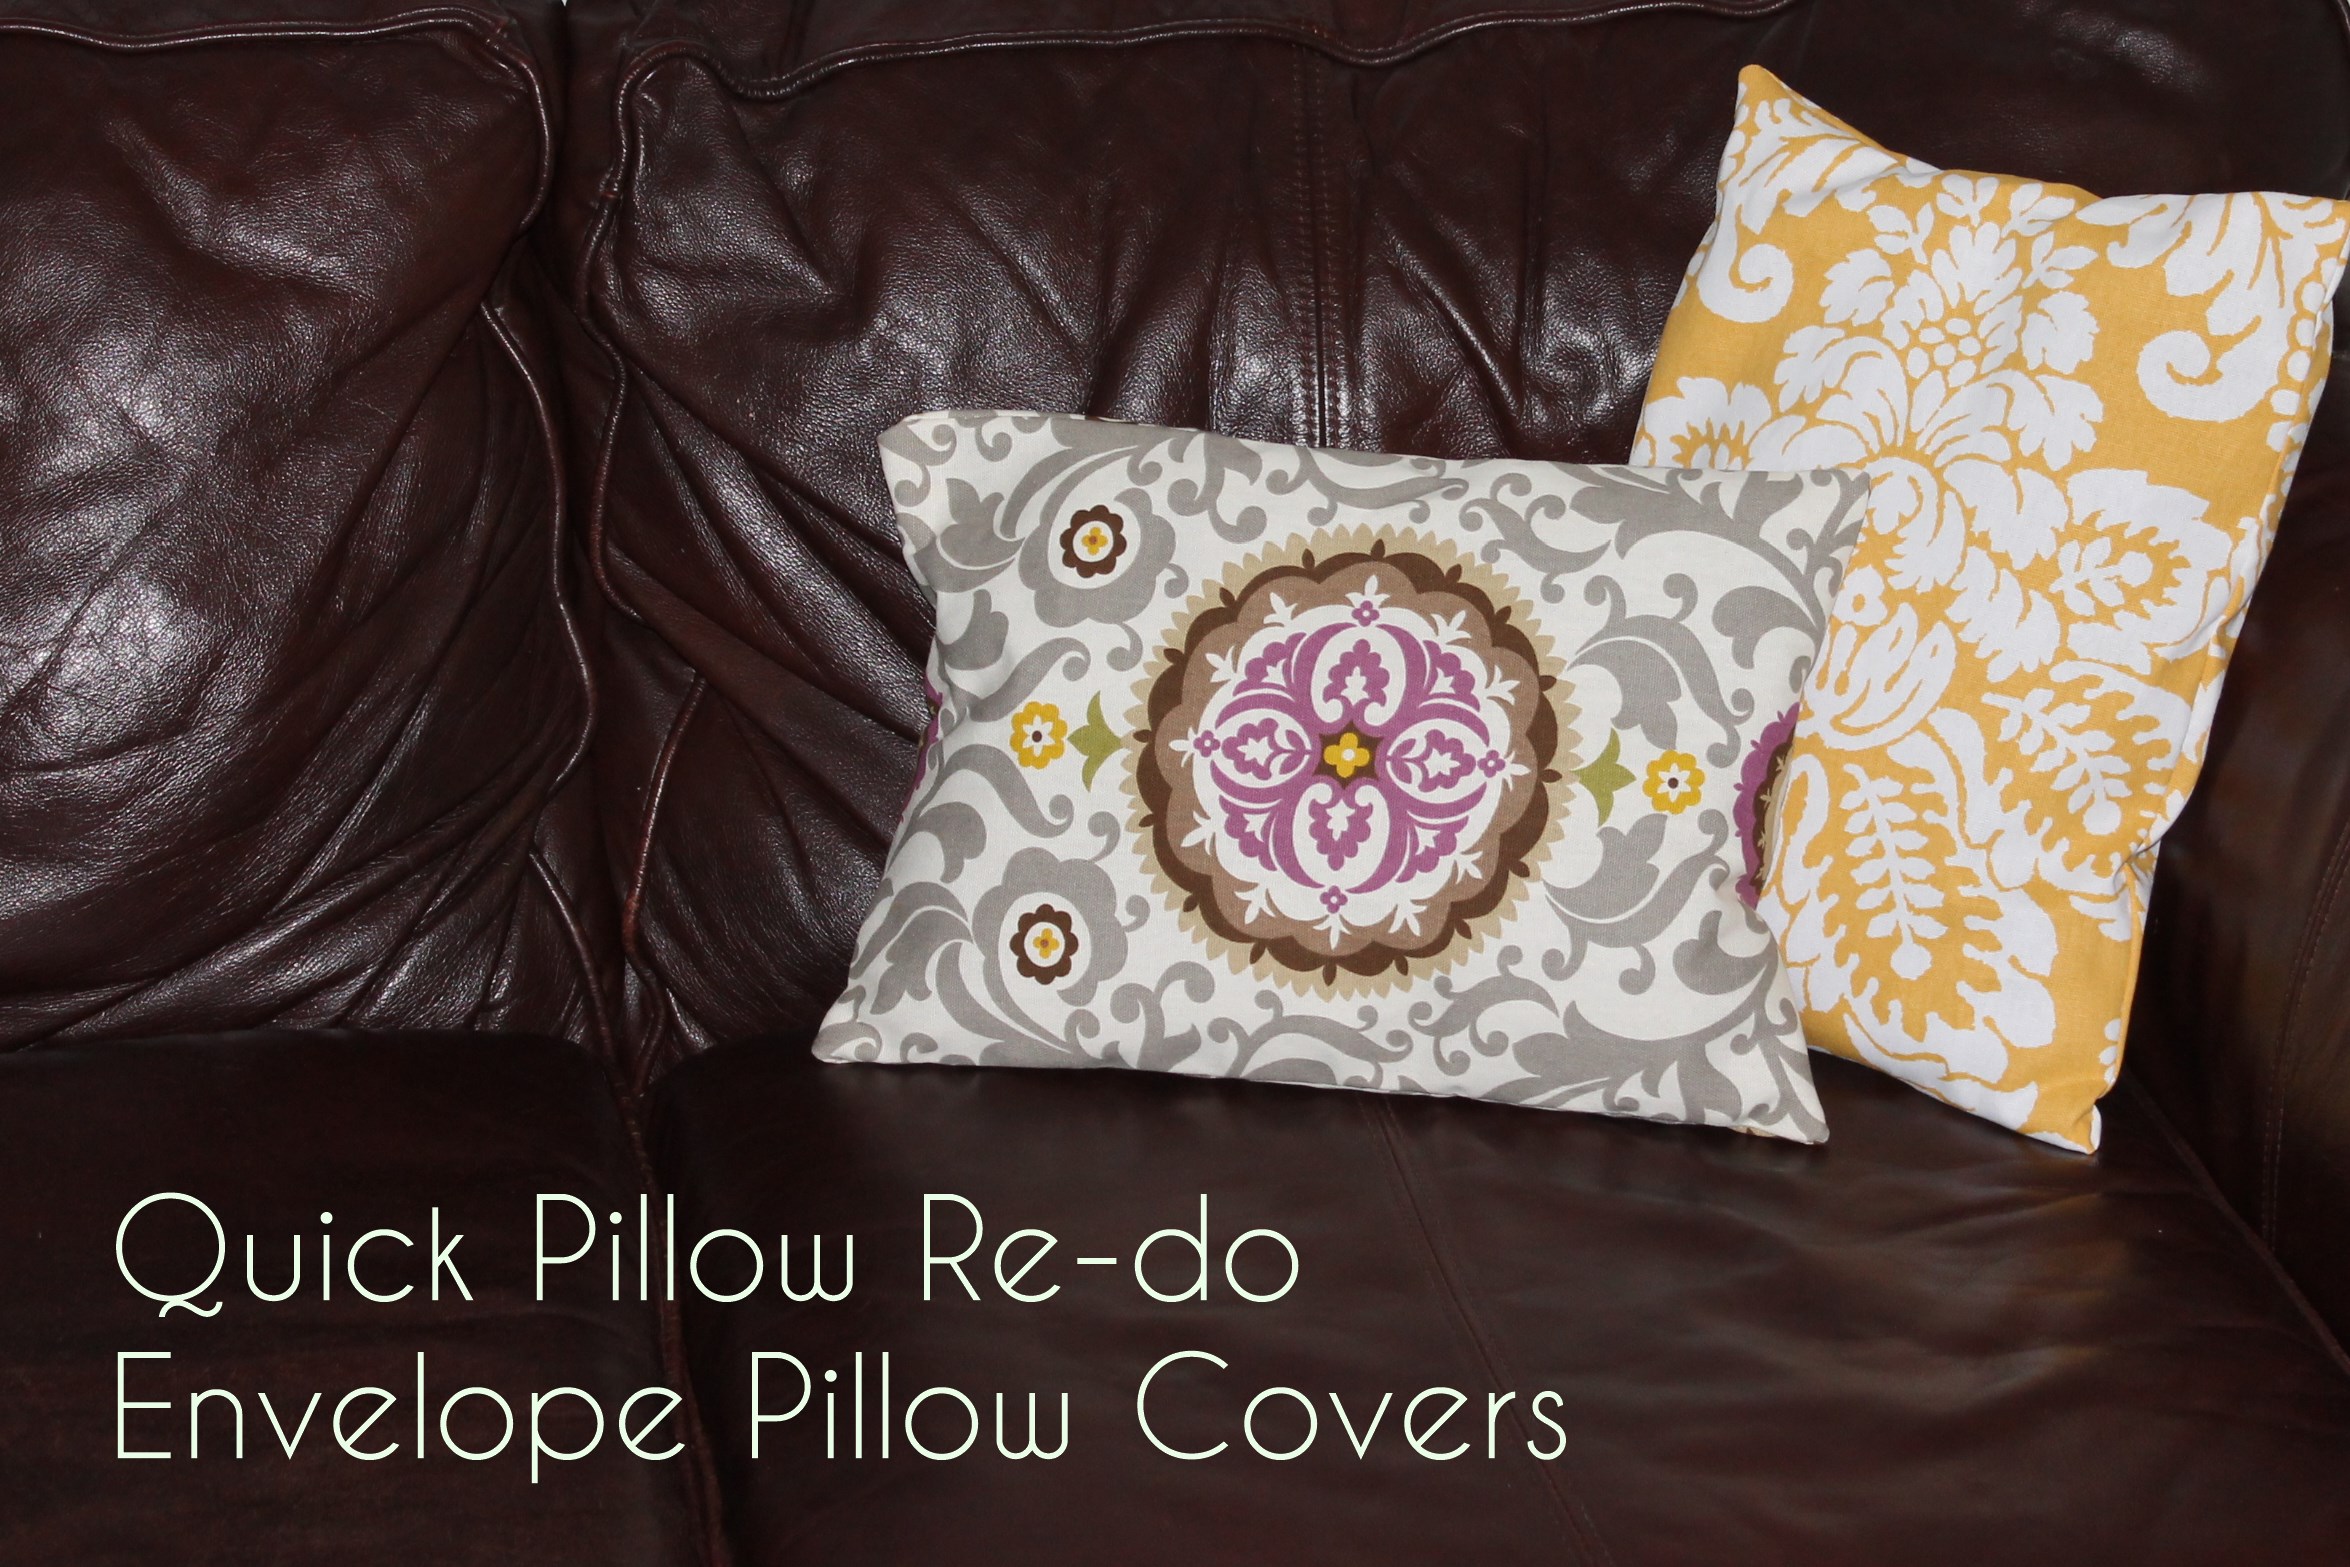
Envelope Pillow Covers

Experience Level:  Beginner

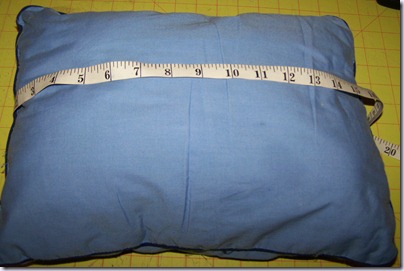
1.  Measure your pillow.  You’ll need to know the length and width.

101_1183

2.  Do a little math.  This pillow measured 11 x 15 inches.

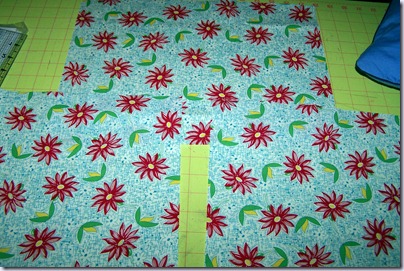
  • Front pillow piece:  You need 1 rectangle.  Add 1/2 inch to the length and 1/2 inch to the width.  For this pillow, I used 1 rectangle measuring 11 1/2 x 15 1/2 inches.  
  • Back pillow pieces:  You need 2 rectangles.  The width will be the same as the front piece.  For the length of each piece, divide the length of the pillow by 2 and add 3 1/2 inches.  My 2 rectangles measured  11 1/2 x 11 inches.

101_1157

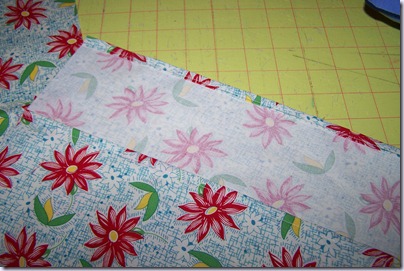
3.  Hem one long edge of each of the back pillow pieces.

101_1159

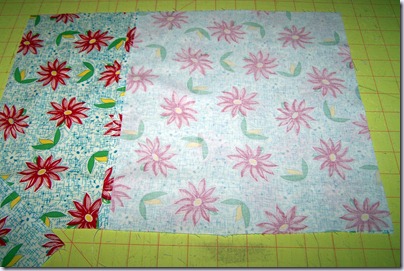
4.  Stack your fabric like this:

  • Front piece right-side up.
  • Back pieces wrong-side up, hem toward the middle.

101_1160101_1161

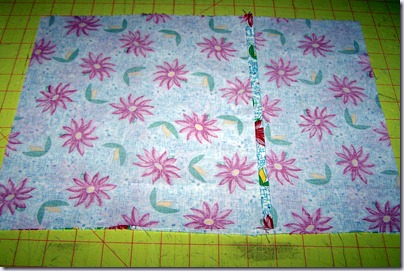
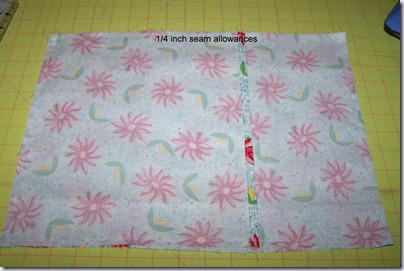
5.   Stitch all the way around the pillow with 1/4 inch seam allowances.

101_1162

6.  Trim the corners, turn your case right side out, and press it well.101_1163
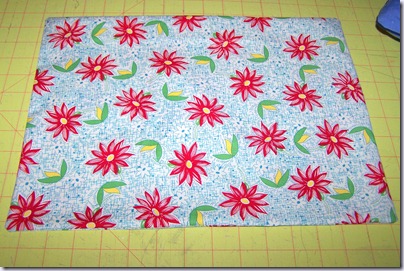
7.  Slip it on your pillow.101_1169

A few notes: –This envelope pillow will work for any rectangular/square pillow.  Just measure your pillow and do the same math you did above.

–If you are worried about the back overlap gaping, you can add more than 3 1/2 inches to each back piece, or just attach a small piece of Velcro to either side!

–Embellish away!  I try to remember to embellish the front before I put my pillows together.  You can paint, piece, add ribbon or ric rac, anything you want, just as long as the front finished pieces measures 1/2 inch long and 1/2 inch wider than your pillow.

****This tutorial first appeared in December 2011.

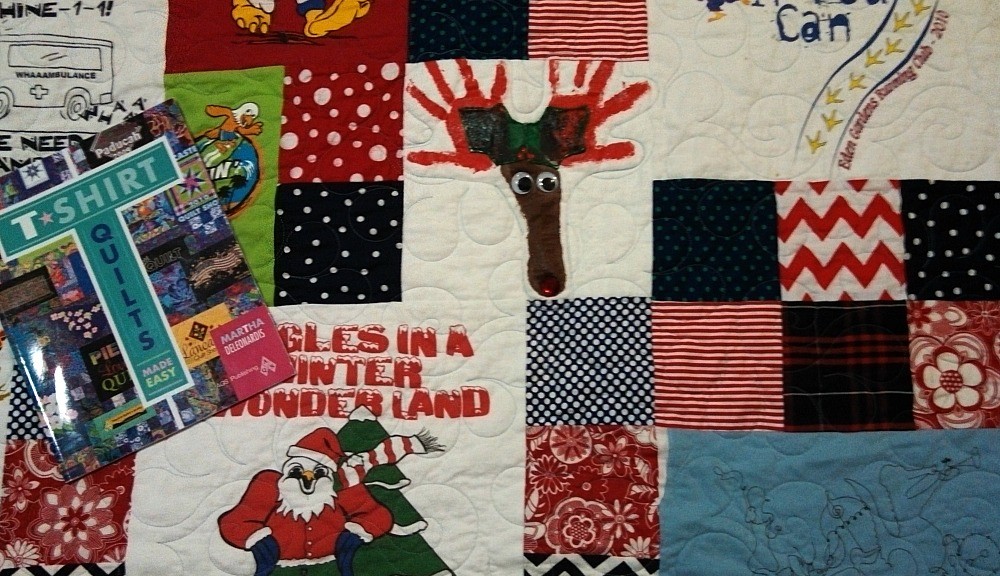
Book Review: T Shirt Quilts Made Easy

T Shirt Quilts Made Easy by Martha Deleonardis

Published in 2012

ISBN: 978-1-60460-014-8

Some Chapter Headings:

  • Hints and How-To’s
  • Projects
  • Gallery
  • Easy Planning Guides

I should preface my review with this:  I borrowed this book from my mom when I was ready to make my daughter’s t shirt quilt.  I’m comfortable sewing and piecing quilt tops.  I was looking specifically for information about the coordinating fabrics, what size to cut the blocks, and how-to make all the blocks fit together.  This book did that.

I liked:

  • “It’s All About the Fabric” section that explained the best way to choose your fabrics for your project.  (Spoiler alert:  Don’t try to match your tee shirts!)
  • The entire “Easy Planning Guides” chapter.  To be honest, I skimmed over the other parts and camped out here.  I knew I wanted to start with 5 inch squares (a charm pack) so I used her “5 inch Grid Cut Block Chart to get the measures I needed to cut my tees.

My dislikes:

  • I found her grids too small for me to work with and designed my own in excel.

Conclusion:
I already know how to sew.  I already know how to piece a quilt top in a basic 4-patch or 9-patch.  If I didn’t, I’m not sure this book would have helped much.  But since I already knew those techniques, I was looking for a book that would help me design a cute t shirt quilt.  That’s why I found the discussion about fabrics so helpful.  I also love math and grids, so her planning guides were right up my alley.  This book does not teach you how to quilt–only piece the quilt top.  If you need a book to teach you how to quilt, keep looking.

Would I buy it for myself?
Yes.  If I had a stack of t shirts and a basic sewing knowledge, this would be a great place to start.

Would I buy it for a beginner sewer?
Probably not, but for a sewist who has mastered straight seams—you’re good to go!

Beginning Sewing Class January 27th

Just a quick reminder!  I’m offering my beginning sewing class twice next week.

9am  Monday, January 27th at LSUS.  Sign up here.

OR

5pm  Monday, January 27th at Lil’ Miss Priss.  Sign up here.

If you’ve never used a sewing machine before, this is the class for you.  Learn how to thread the machine, fill a bobbin, balance the tension, and sew a straight seam.  Create a finished pillowcase while you practice.  You can bring your own sewing machine or use one of the machines provided.

Supplies:  Three (3) pieces coordinating 100% cotton quilting fabric in the following amounts:  Fabric 1 (1yd), Fabric 2 (1/2 yd), Fabric 3 (1/4 yd); all-purpose thread; sewing shears; straight pins; size 11 universal sewing machine needles; sewing machine and manual. Machines are provided at LSUS.  Please message me if you need to borrow a machine at Lil’ Miss Priss.


Home of Needles, Nuts, and Bolts Sewing Classes and Personality Children's Clohtes