Are you letting the task of printing and taping together dozens of pages keep you from using PDF patterns? There are so many fun patterns floating around today and many of them are only available in PDF format. The process of “putting your pattern together” is crazy easy.
To use a .pdf pattern, you’ll need:
- your pattern printed out
- glue sticks (I like these.)
- paper scissors
- maybe a ruler or paper cutter (Only for some patterns.)
So, how do you put it all together?
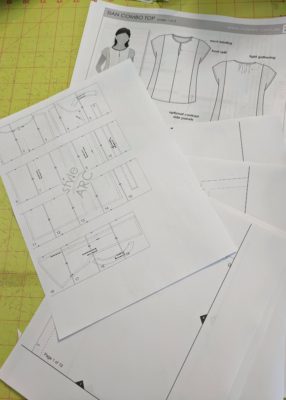
First, print it out. I use Adobe Reader to print mine. ONE MAJOR NOTE: make sure your scaling is set to 100% or full size before you print it out. Otherwise, you run the risk of your pattern being too small. The pattern pictured here was 25 pages long, 6 of infromation and 19 pattern parts. One page of instructions is the “map” for taping together the pattern pieces.
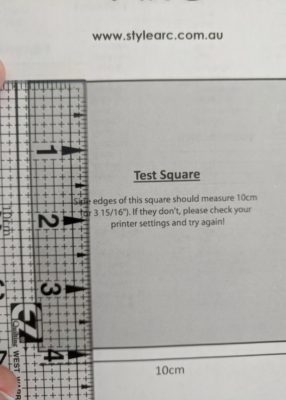
Double check that the size printed out correctly with the test square on your pattern. Every pattern designer worth their salt will include one of these. (By the way, I get asked in my classes about my favorite ruler. This is it.)
Paste your pattern together. You might need to cut off two edges (top and right, bottom and left, etc) before lining your pieces up. This varies by designer, but each will have that info on their site. For this pattern, the pieces just overlapped.
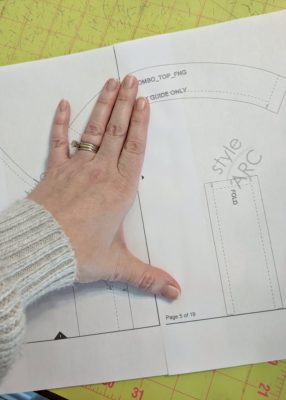
I like to use these Scholastic Glue Sticks to glue my pieces together. I’ve also used scotch tape and double stick tape, but this glue dries quickly and is much less expensive.
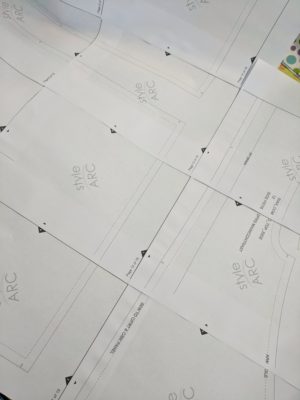
Once you’ve let it dry for a couple of minutes you are ready to cut it out. Don’t forget to use your PAPER scissors.
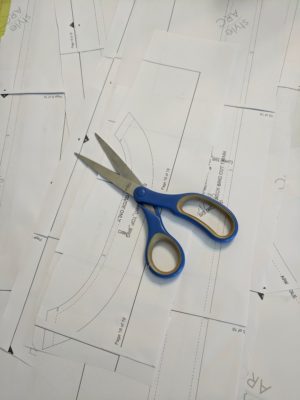
One last reminder, you’ll want to cut your pieces out precisely so that you aren’t cutting paper with your good fabric scissors while cutting the fabric.
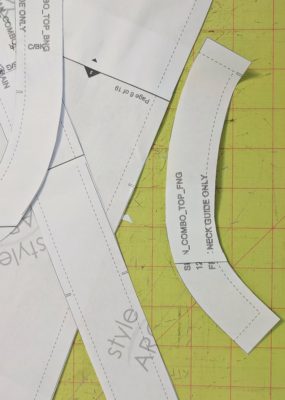
Now that your pattern pieces are ready to go, everything else is just like sewing a tissue paper pattern! Using a .pdf pattern is really that easy!
Happy sewing.
