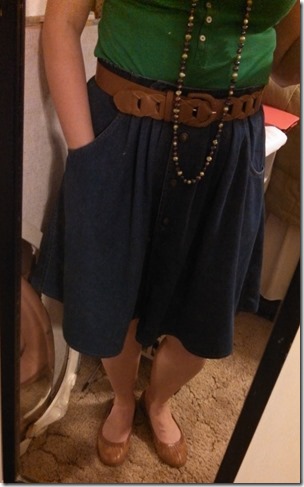
The facts:
- I
needed wanted a new denim skirt.
- I have a straight one that I’m constantly tugging on.
- I’m trying not to spend
any much money on my closet right now.
The solution:
A trip to Goodwill, my scissors, and my sewing machine!
Now, I’ll be the first to admit, I don’t enjoy thrift shopping. Sure, the prices are great, but I just find it kinda icky to go through someone else’s clothes. However, I figured it wouldn’t hurt to look.
On first glance through the racks, I found 3 denim skirts that held potential. One was a straight skirt, in my size, $4. The second was a mid-calf length straight skirt, in my size, $4. The third was a mid-calf length fuller skirt, in my size, $2.
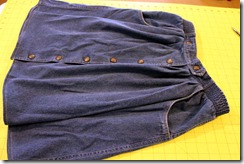
Score! The third skirt fit the bill—cheap enough I could mess it up, not straight so I wouldn’t be tugging on it, and my size. Here it is:
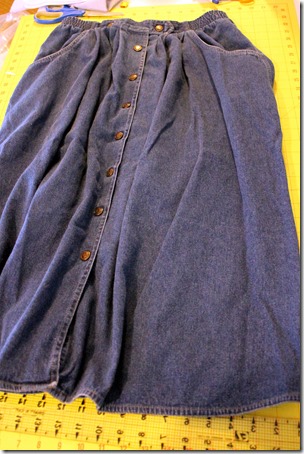
Not cute, is it? Yep, that is an elastic waist band you see. But, look at those pockets. This thing had potential!
So, how’d I do it?
1. Wash the skirt. Twice. Told you I have a thing about other people’s clothes.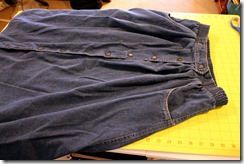
2. After pinning up a few lengths and checking it out with a mirror, I decided I needed the skirt to be about 9 inches shorter. Figuring a 1/2 inch hem, I chopped off about 8 1/2 inches. Since my skirt had a little curve to the hem, I was careful to measure up 8 1/2 inches from the hem and draw my cutting line. Just cutting straight across would have cause the skirt to hike up in various places along the hem.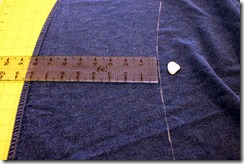
3. I decided to serge the bottom edge of my skirt. Just ‘cause I don’t like ravels and such. If you don’t have a serger and you wanted to finish that raw edge, you could use an overcast stitch along the edge, zig zag along the edge, or just cut it with pinking shears.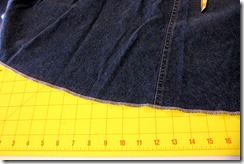
4. I pressed up my hem. Basically, I folded up 1/4 inch (the width of my serged edge) and then folded it again another 1/4 inch. I made a narrow hem because the skirt is so full. Had this been a straight skirt, I probably would have used a deeper (1 to 1 1/2 inch) hem.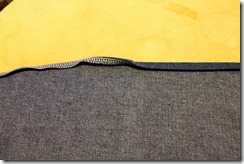
5. I stitched my hem in place with a straight stitch. I chose to use a yellow thread that matched the top stitching on the rest of the skirt.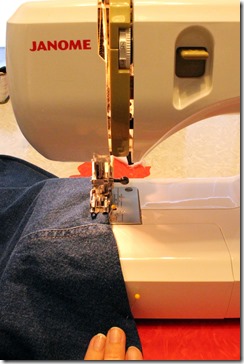
6. All done! I paired it with some cute flats and a wide belt to hide the elastic waistband.
Having now worn it for a day, I can assure you, it was wonderful to not have tug on my skirt all day. And those pockets—worth every penny of my $2!
